12 Clever Ways to Divide a Studio Apartment Into Zones
Every studio apartment has a fundamental design problem: one room is doing five jobs at once. Your bed is five feet from your desk. Your living room is your bedroom is your dining room is your office. Without defined zones, everything bleeds together — and that’s not just an aesthetic issue. Research on environmental psychology shows that the boundaries between spaces affect how we feel and function in them. When your sleep space and work space share the same visual territory, your brain never fully switches off. When your bed faces your desk, rest becomes harder. Knowing how to divide a studio apartment into zones isn’t just about looks. It’s about making the space work better for your brain.
The good news is that you don’t need walls, a bigger apartment, or a renovation budget to solve this. Everything in this guide uses furniture placement, textiles, lighting, and a few clever visual tricks to carve distinct zones out of a single open room — and almost all of it is fully renter-friendly. Whether your studio is 350 square feet or 650, these principles scale to fit.
In This Article
- Why Zoning Your Studio Apartment Changes Everything
- Start With a Zone Map — Plan Before You Buy Anything
- Use Area Rugs to Define Each Zone
- Place Your Sofa as a Natural Room Divider
- Use a Bookshelf to Build a Bedroom Wall
- Hang Curtains for an Instant Bedroom
- Define Your Home Office Zone
- Create a Dedicated Dining Zone
- Use Lighting to Reinforce Zone Boundaries
- Add Paint or Wallpaper as a Visual Zone Anchor
- Frequently Asked Questions
- Final Thoughts on How to Divide a Studio Apartment Into Zones
Why Zoning Your Studio Apartment Changes Everything
The difference between a studio that feels cramped and chaotic and one that feels thoughtfully designed almost always comes down to one thing: intentional zoning. A studio apartment that hasn’t been zoned is a single undifferentiated space where nothing has a place and everything competes for visual attention. A studio that’s been zoned — even with just rugs and furniture placement — feels like a series of purposeful rooms, each with its own identity and function.
Zoning works because humans are spatial creatures. We feel more at ease in spaces with clear boundaries, even when those boundaries are implied rather than physical. A rug that defines a seating area sends a signal: this is the living room. A bookshelf angled perpendicular to a wall says: beyond this point is a different room. A pendant light hanging over a small table transforms that table into a dining room even if it’s technically two feet from your bed. These signals work on a psychological level that has nothing to do with square footage.
Practically speaking, zoning a studio apartment also makes it more functional. When your workspace is clearly separated from your relaxation zone, you’re more productive during work hours and more able to decompress after them. When your sleep zone is visually distinct from the living space, your brain begins to associate that area with rest — which improves sleep quality over time. When you have a defined dining zone, even a small one, meals feel like meals rather than desk breaks. These functional benefits are just as real as the aesthetic ones.
The goal of this guide is to show you how to divide a studio apartment into zones that serve you — not just zones that look good in photographs. The best studio layout is the one that matches your actual daily routine: how you work, how you relax, whether you cook and eat at home, and how much privacy you need for sleep. Start with your habits and build the zones around them.
Start With a Zone Map — Plan Before You Buy Anything
Before you move a single piece of furniture or buy a single rug, sketch a zone map. You don’t need design software or precise measurements — a rough pencil sketch on a piece of paper is enough. Draw the outline of your studio, mark the windows, doors, and any fixed features like a kitchen peninsula or a closet, and then ask yourself: what are the activities I need this apartment to support?
For most people living in a studio apartment, the answer includes five zones: a sleep zone, a living zone, a work zone, a dining zone, and a storage zone. Some people need a sixth — a dressing zone if the closet is in an awkward location — while others can combine zones. If you work from home and need a serious, dedicated workspace — these small apartment home office ideas cover nine renter-friendly setups — your office zone might be as important as your sleep zone. If you never eat at home and only need a space to have coffee in the morning, your dining zone might just be a corner table.
Once you’ve identified your zones, assign each one a location in the apartment. The most important principle: put the sleep zone as far from the entry door as possible. This creates a natural visual progression from public (entry, living room) to private (bedroom area) that mirrors how a traditional apartment is laid out. The second principle: keep the work zone near natural light but away from the sleep zone. This matters both for productivity and for the sleep benefits of visual separation.
Your zone map doesn’t need to be permanent. You’ll likely adjust it several times after trying different configurations. But having a plan before you start shopping prevents the most common studio mistake: buying furniture one piece at a time without a coherent overall layout, ending up with pieces that don’t relate to each other or create the zones you need. Map first. Buy second.
Use Area Rugs to Define Each Zone — The Cheapest and Most Powerful Method
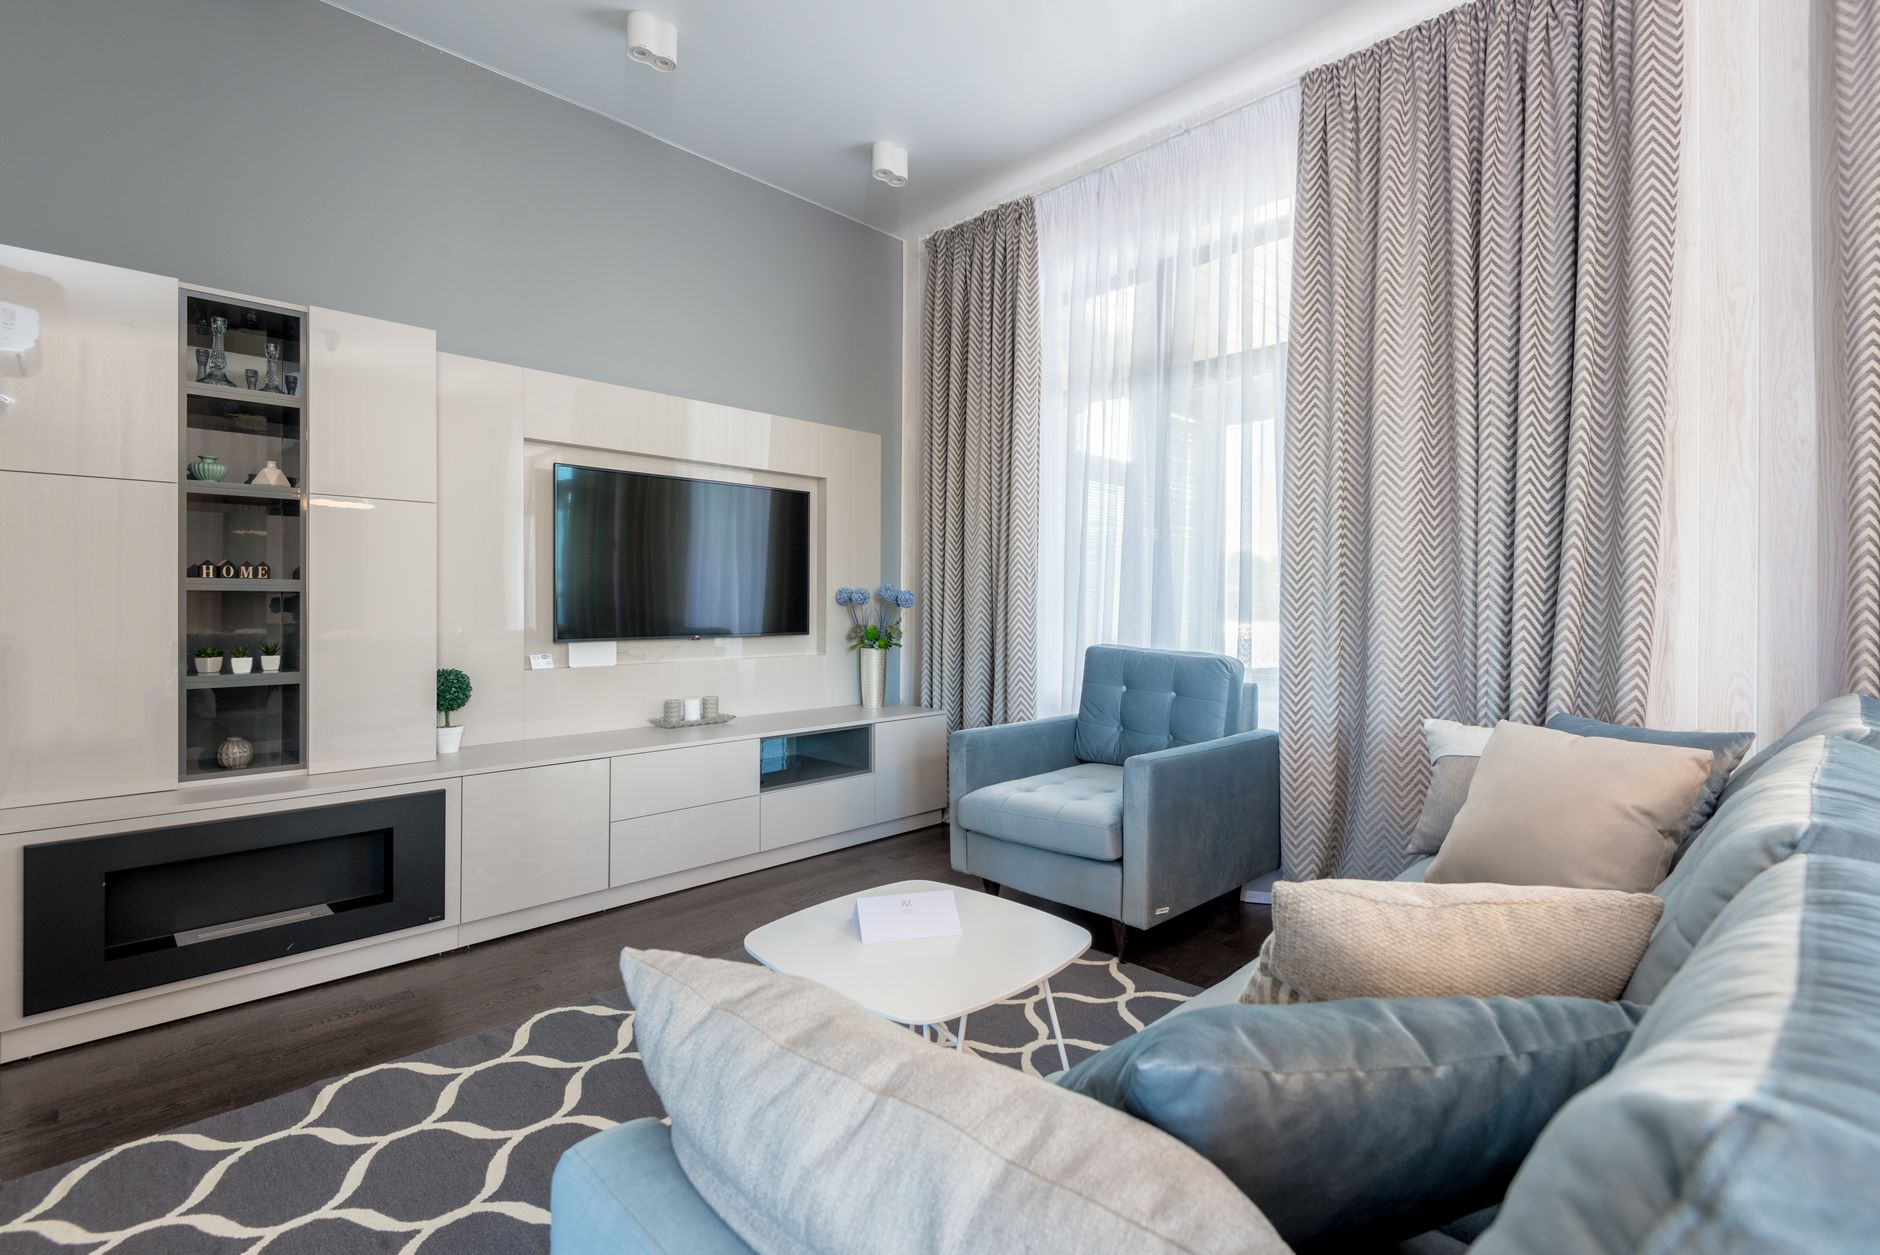
If there’s one single tool for dividing a studio apartment into zones that works better than anything else at its price point, it’s the area rug. A rug visually claims a territory in a way that nothing else does for the same cost. Place a 5×8 rug under a sofa and two chairs, and you have a living room. Place a 4×6 rug under a dining table and two chairs, and you have a dining room. Lay a jute runner alongside a bed, and you have a bedroom. All of this happens without moving walls, without spending more than a few hundred dollars total, and without any modification that would concern a landlord.
The key to using rugs for zoning is size. Most people in studio apartments make the mistake of buying rugs that are too small, which makes spaces look cramped and emphasizes how little room there is rather than defining it. In the living zone, your rug should be large enough that all four legs of your sofa sit on it, or at minimum the two front legs. A 5×8 rug is the minimum for most studio living zones; a 6×9 is better if space allows. In the sleep zone, an 8×10 rug positioned so that two to three feet extend beyond each side of the bed creates a bedroom floor that feels complete and generous.
Color and texture also matter for zone definition. The rugs in different zones don’t need to match — in fact, slight differences in texture and tone help reinforce the zone separation. A warm, textured natural jute rug in the living zone and a softer, plush rug beside the bed create different tactile and visual experiences that help each zone feel distinct even when they’re separated by only a few feet.
For renters, washable area rugs are worth the small premium they sometimes cost. Studio apartments are high-traffic spaces and rugs are on the floor — the most vulnerable surface to spills and wear. A machine-washable rug in the dining zone or living zone can be refreshed in one wash cycle. Look for rugs with a non-slip backing as well, particularly on hard floors, to prevent movement that would visually disrupt your zones over time.
Nakagishi 5×8 Washable Boho Area Rug — Soft, Stain-Resistant, Non-Slip for Living Room
- Machine washable — cold water wash, no-heat dry
- Non-slip backing — stays in place on hard floors
- Stain-resistant neutral farmhouse weave
- Soft low-pile perfect for living zone or bedroom
* As an Amazon Associate, ApartmentNook earns from qualifying purchases at no extra cost to you.
Place Your Sofa as a Natural Room Divider
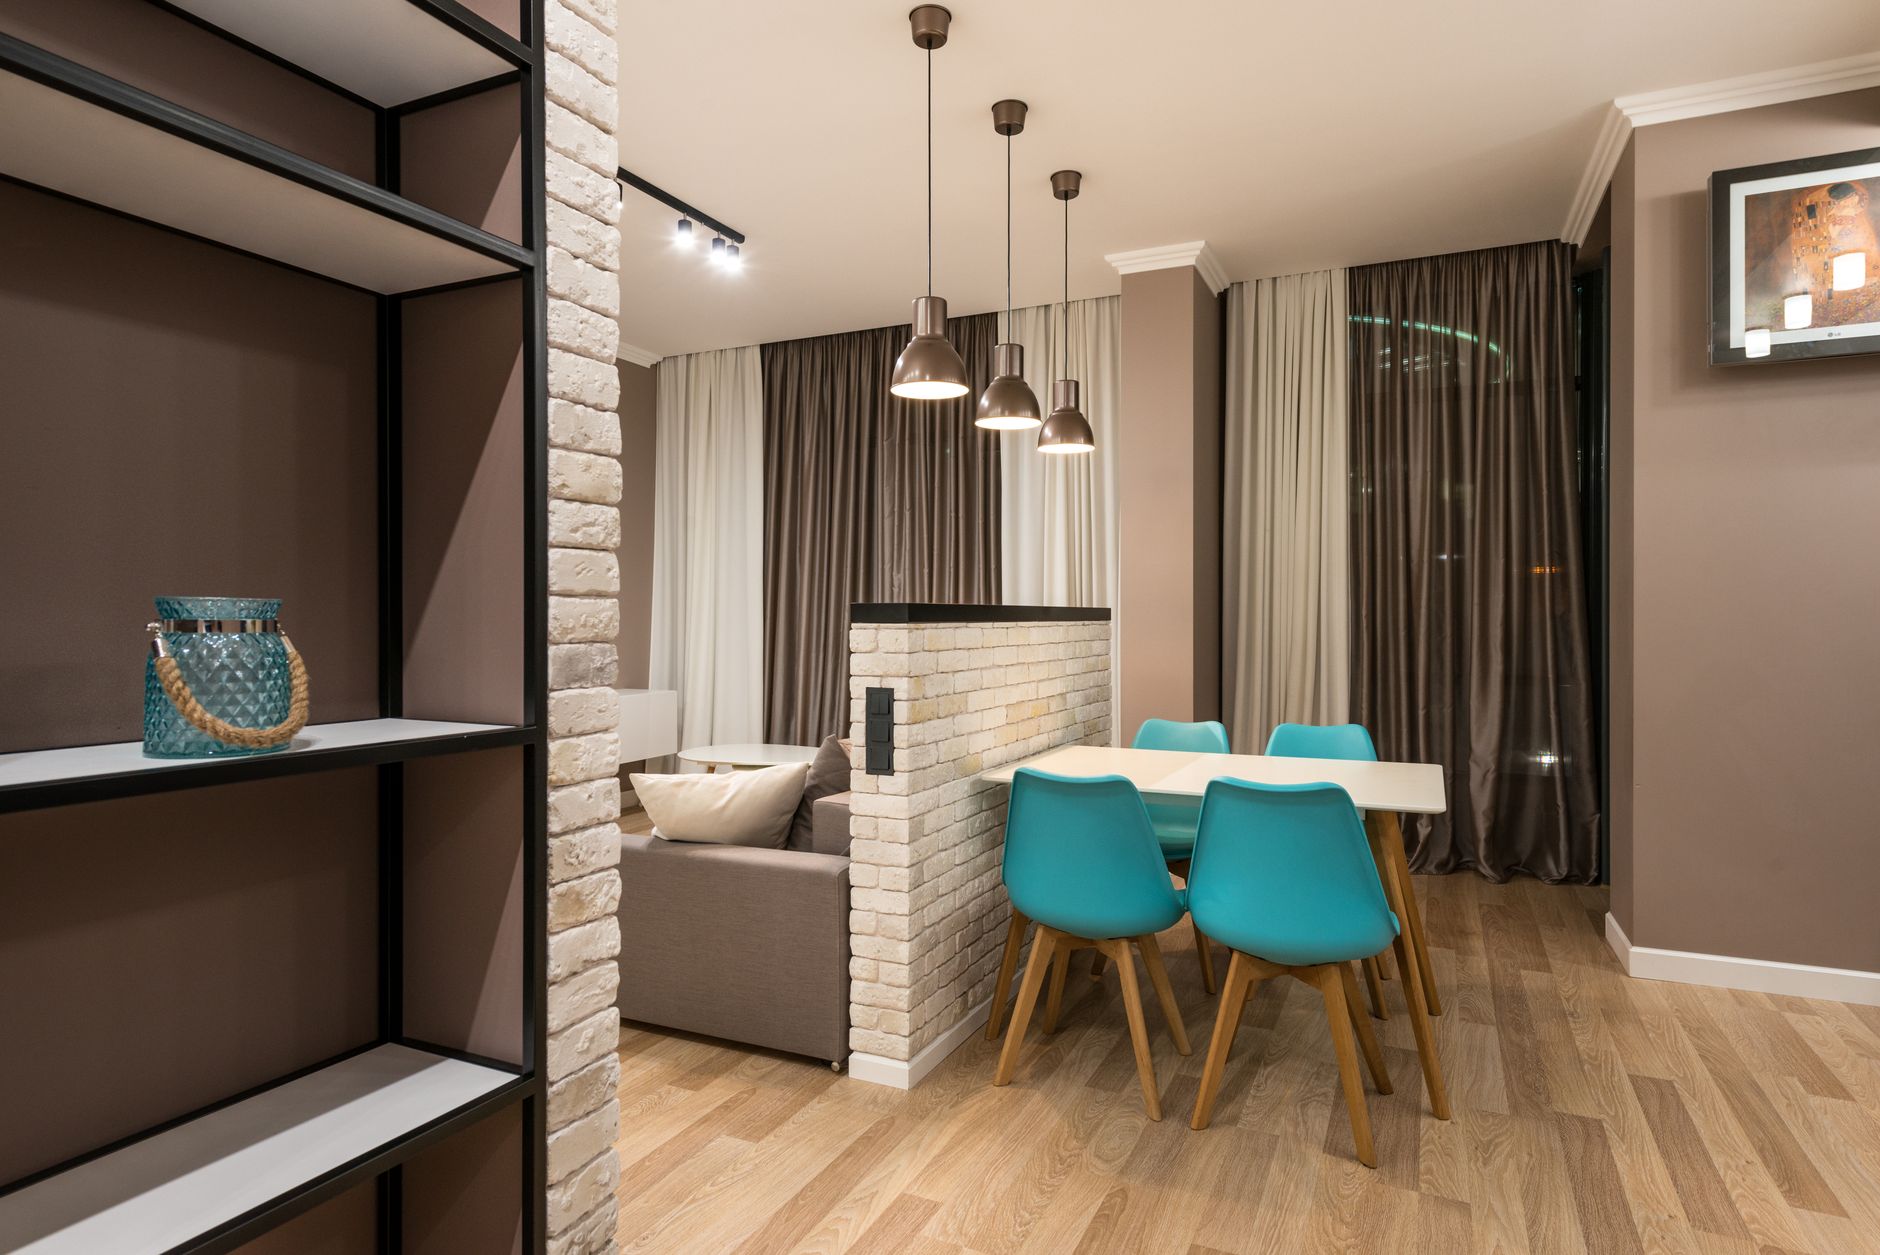
Your sofa is probably the largest piece of furniture in your studio, and its orientation determines everything about how the space feels and functions. Most people push their sofa against a wall — which is exactly the wrong move in a studio apartment. When the sofa hugs the perimeter, all the furniture lines up around the edges and the center of the room becomes dead space that serves no zone. The room looks bigger in photos but feels purposeless in real life.
Instead, float your sofa at least 18 inches away from any wall, and orient it to face away from your bed. This one move does three things simultaneously. First, it creates a natural boundary between the living zone and the sleep zone — the sofa’s back becomes a visual wall that your eye reads as a room separation. Second, it anchors the living zone around a defined center, making that zone feel intentional rather than incidental. Third, it opens up the sleep zone behind the sofa, giving the bed a pocket of space that reads as its own room.
In very small studios, a loveseat or apartment-scale sofa (typically 68 to 72 inches wide rather than a standard 84-inch model) gives you the same zoning benefit without overwhelming the floor plan. A sofa with a high, solid back creates a stronger visual division than one with a low back — though low-back sofas allow light and sightlines to pass through, which can make a small space feel more open even if less divided.
Behind the sofa — in the space between its back and whatever is behind it — is a powerful placement zone for a console table, a low bookshelf, or a table lamp. This strip of space, typically 12 to 18 inches wide, creates a visual boundary on both sides: it marks the back edge of the living zone and the front edge of whatever zone lies beyond the sofa. A console table with a lamp in that position reads immediately as a room transition point, the same way a hallway lamp marks the entry to a different space in a traditional home.
Use a Bookshelf to Build a Bedroom Wall
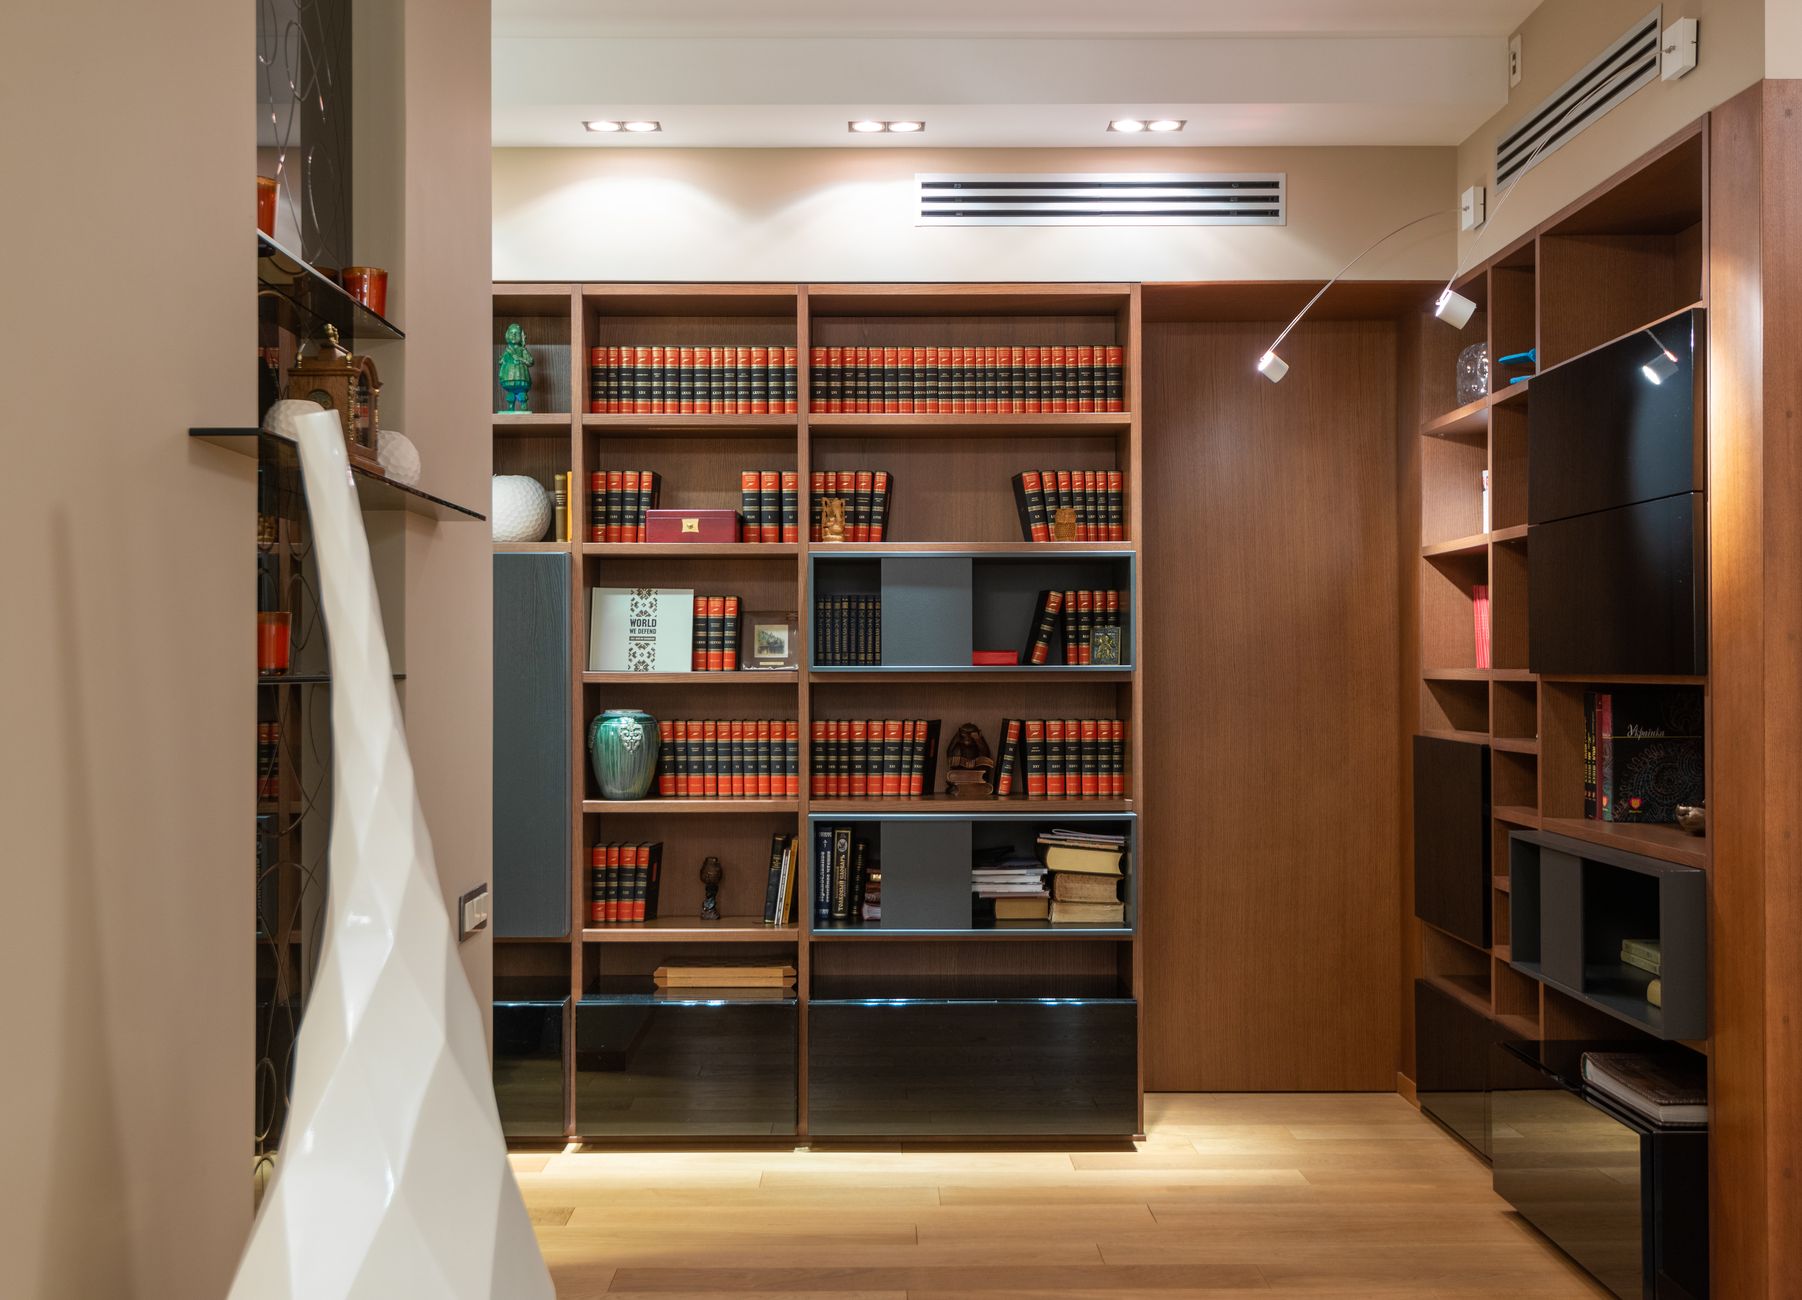
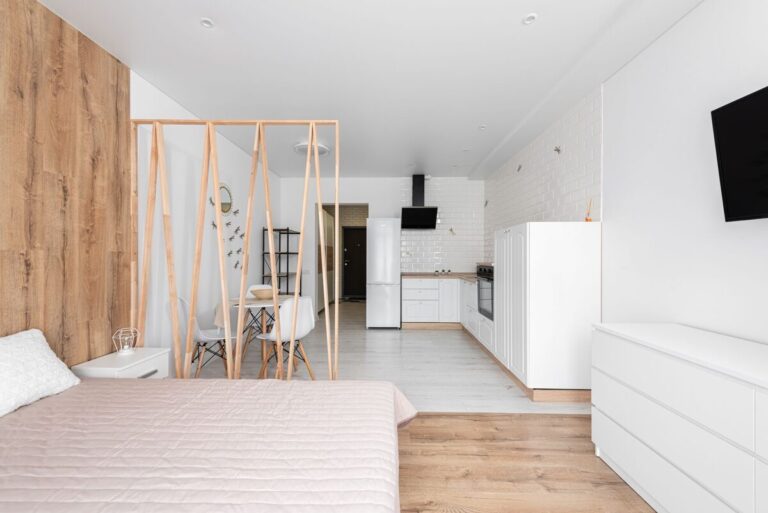
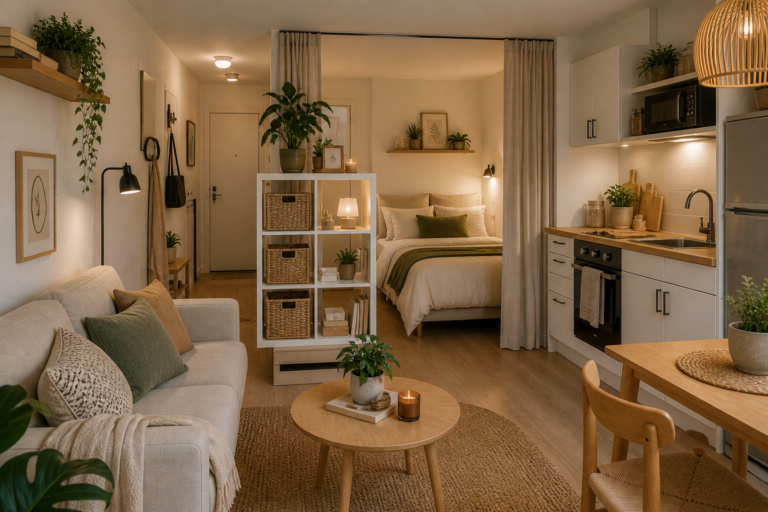
A tall, open bookshelf placed perpendicular to a wall is the closest thing to an actual room divider that doesn’t require installation. It creates a physical barrier between zones, provides storage on both sides, maintains visual openness because it doesn’t reach the ceiling, and carries enough visual weight to convince your eye that it’s a structural feature rather than furniture. A well-placed bookshelf in a studio apartment can make the sleep zone feel genuinely enclosed — not just separated, but actually private. If you want to shop specific picks, see our guide to the best room dividers for studio apartments.
For maximum zoning impact, choose a bookshelf that’s at least 60 inches tall — this places it well above average seated eye level so the division feels meaningful when you’re relaxing on the sofa or working at your desk. A 5-tier model in a neutral finish works in virtually every studio aesthetic. Position it so one side faces the living zone — perhaps styled with books, plants, and a few decorative objects — and the other side faces the sleep zone, where it can hold more personal items: books for bedtime reading, a small lamp, a trailing pothos.
Open bookshelves maintain a sense of connection between zones, which prevents a studio from feeling claustrophobically divided. If you want more privacy — particularly in the sleep zone — add a few fabric bins or baskets on the shelves at head height to block the sightline from the living zone to the bed. This creates a hybrid: visually open below eye level (so light and air flow freely), more private at the key sightline height where bed visibility matters most.
A single bookshelf can also double as an anchor for a curtain track or tension rod on top, allowing you to draw a curtain behind it when you want full enclosure of the sleep zone. This combination — bookshelf divider with optional curtain — gives you a spectrum of openness that you can adjust based on who’s visiting and whether you’re in work, relax, or sleep mode. You can find more ideas for using vertical shelving as both storage and structure in our guide to floating shelves for small apartments.
VASAGLE 5-Tier Bookcase — Display Shelf and Freestanding Room Divider (27.6" W × 62.6" H)
- 62.6 inches tall — solid visual divider between zones
- 5 open tiers — styled one side per zone
- Includes anti-tip hardware for safety and stability
- Each shelf holds up to 33 lbs — real storage capacity
* As an Amazon Associate, ApartmentNook earns from qualifying purchases at no extra cost to you.
Hang Curtains for an Instant Bedroom — No Walls Needed
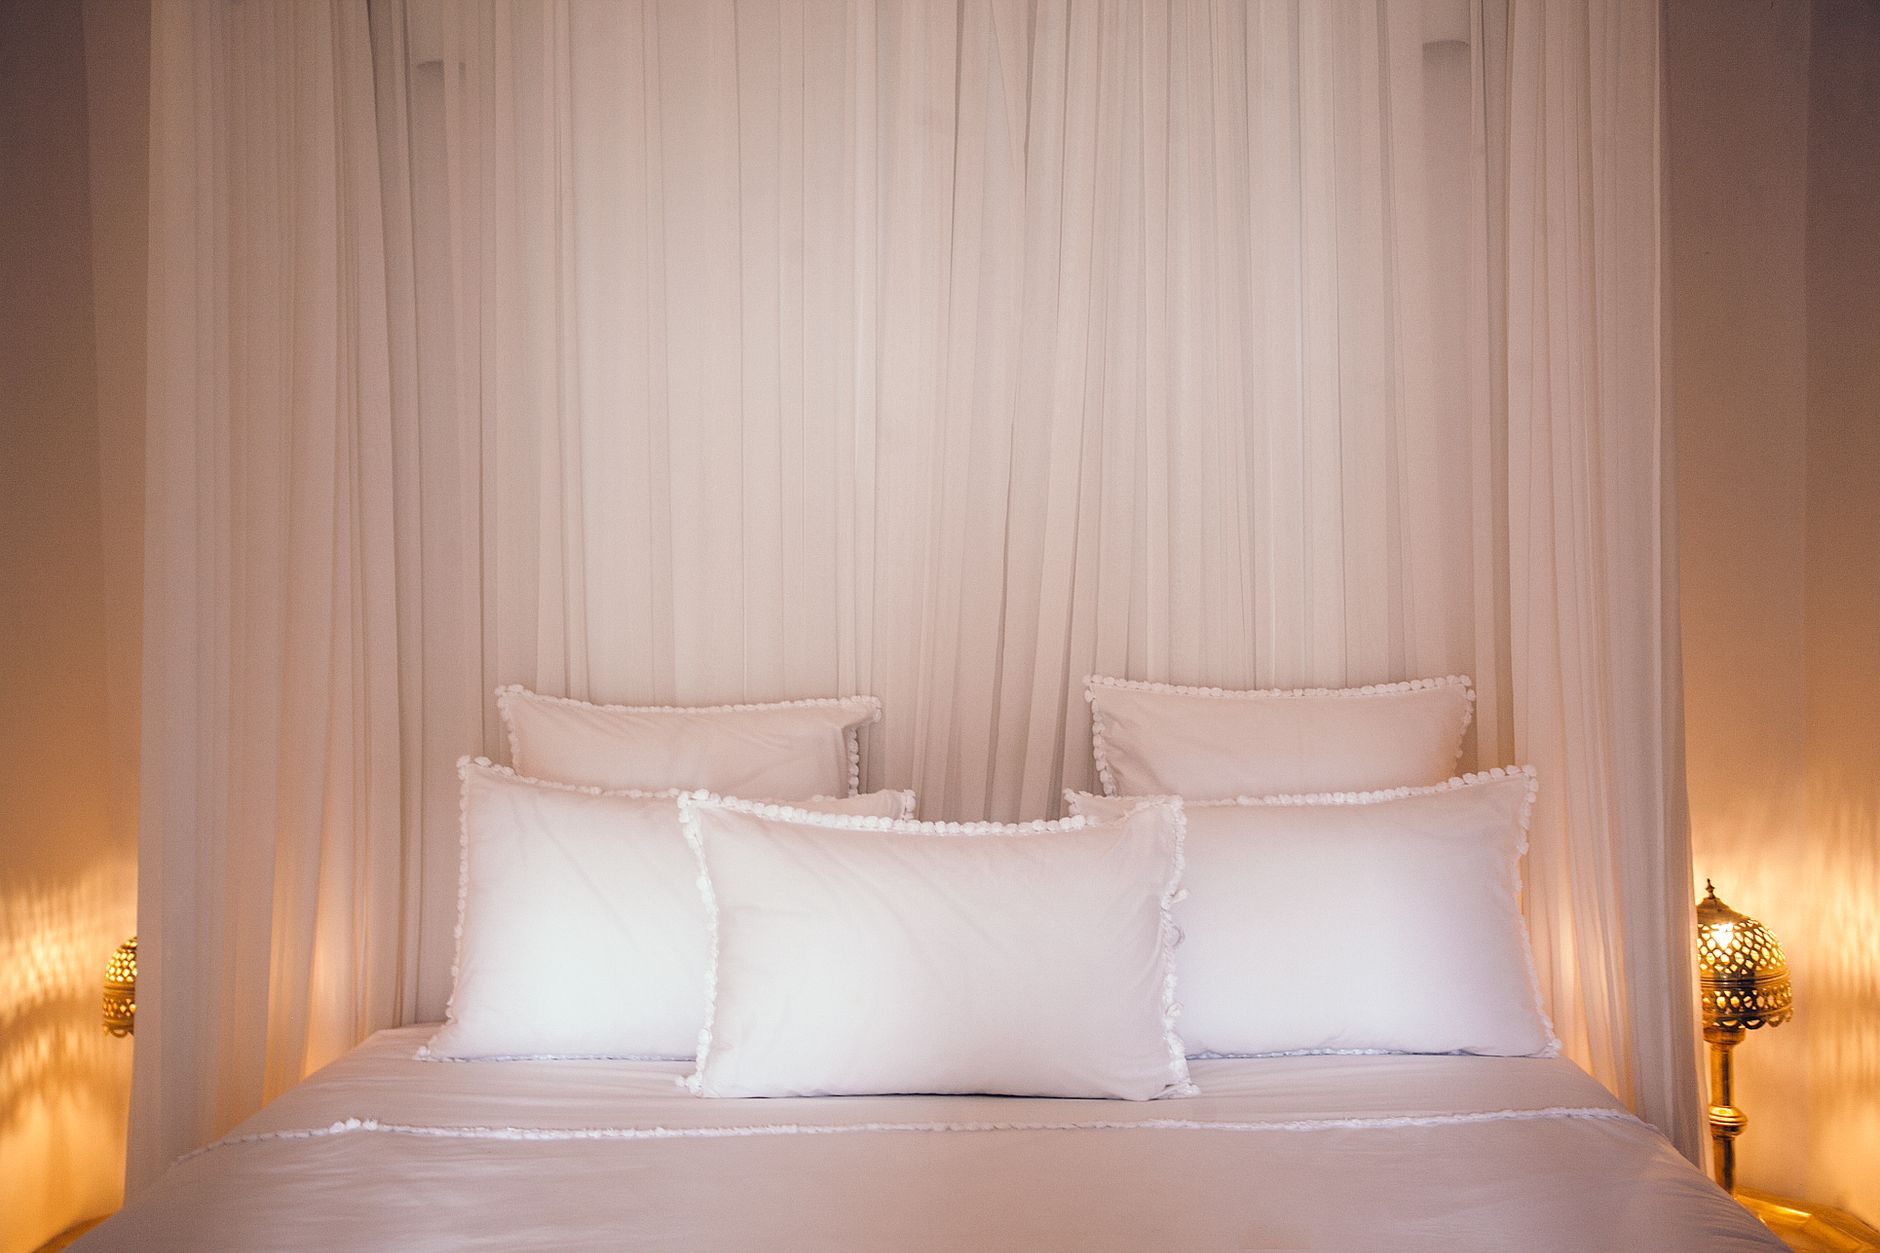
Hanging curtains around a bed is one of the most dramatic and effective ways to divide a studio apartment into zones — and for renters, a tension curtain rod system makes it fully deposit-safe. The visual effect is transformative: a bed surrounded by full-length curtains stops being a piece of furniture in the middle of a room and becomes a private, enclosed sleeping space. The bedroom zone shifts from implied to actual. The effect feels much more like a real bedroom than any other zoning technique achieves.
The simplest approach uses two or three tension curtain rods — one along the head of the bed and one or two along the sides — at ceiling height or as high as the rods will reach. Use ceiling-height curtains (84 to 96 inches) in a solid linen, velvet, or sheer fabric. Linen in cream or warm white maintains openness and light while still defining the zone. Velvet in a deep sage, navy, or charcoal creates a more dramatic cocoon effect — genuinely cozy and private, like a hotel canopy bed. Sheers allow light to pass and feel more open; heavyweight fabric feels more enclosed.
For a cleaner aesthetic, a ceiling-mounted curtain track creates the same enclosure without the visible tension rod hardware. However, ceiling track installation typically requires drilling, which makes it a conversation for long-term renters who have landlord permission. For short-term or standard leases, tension rods are the deposit-safe choice. The visual difference between the two approaches, when good curtains are used, is minimal.
Curtains also allow you to control the level of privacy and enclosure in real time. Fully closed, they give you a completely separate bedroom. Partially open, they create a soft visual frame around the bed without full enclosure. Pushed to the sides, they become purely decorative — adding visual height and texture to the space without any functional separation at all. This flexibility is something that no rigid room divider or bookshelf can offer.
Define Your Home Office Zone So Work and Sleep Don’t Blur
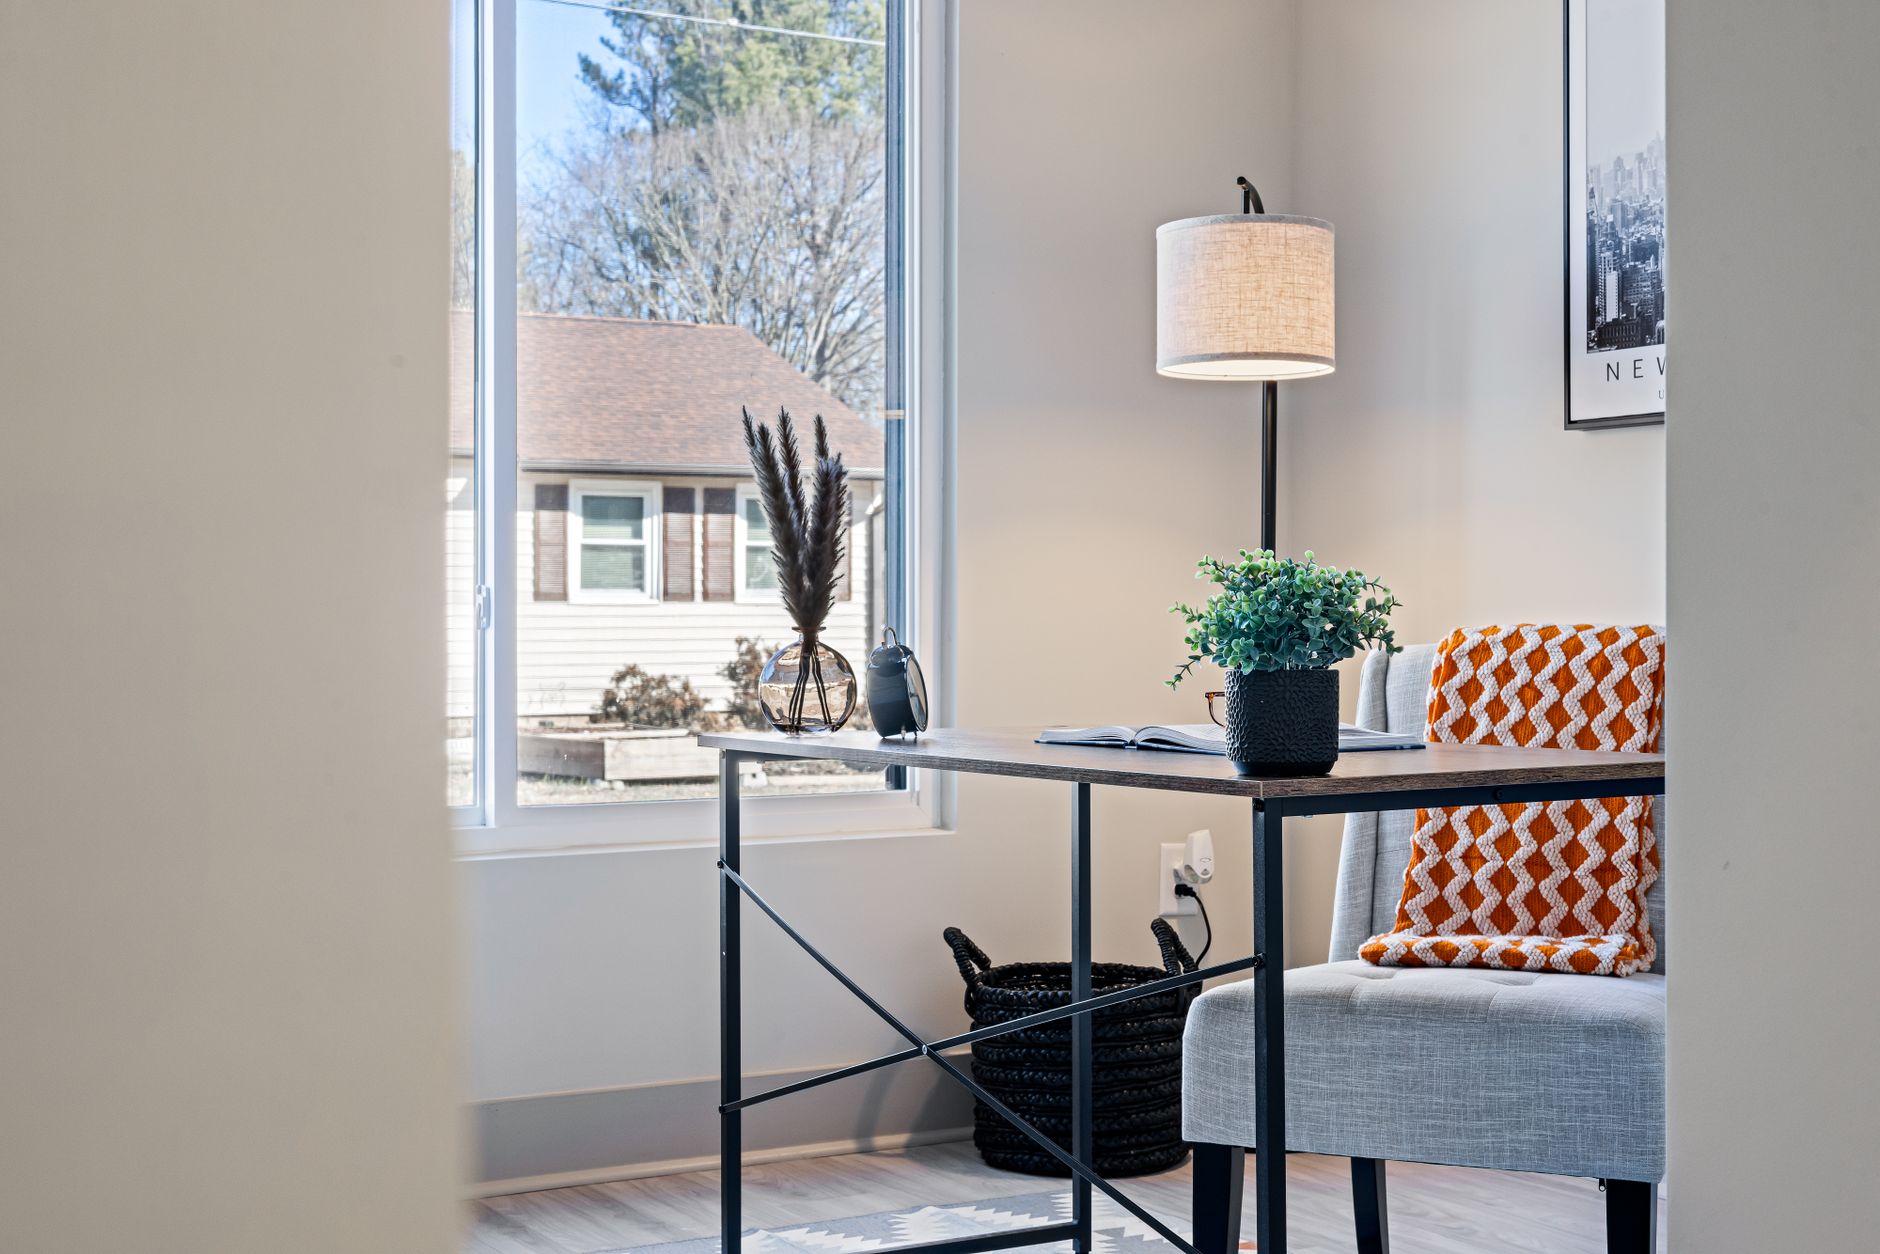
Working from home in a studio apartment is one of the most common challenges renters face — and one of the most important to solve with intentional zoning. When your desk is visible from your bed, your brain never fully leaves work mode during off-hours, and never fully enters rest mode when it’s time to sleep. The solution isn’t to get a bigger apartment; it’s to create enough visual and physical distance between the work zone and sleep zone that the two feel like different contexts.
Placement is the primary tool. Position your desk as far from your bed as the studio allows — ideally in a different corner or near a window, away from the sleep zone sightline. If the studio’s layout doesn’t allow for much physical distance, orient the desk to face a wall or window rather than the bed. This changes what you see when you’re working and what you see when you’re lying in bed — and that visual difference carries more psychological weight than the actual distance does.
A dedicated workspace rug helps anchor the office zone and visually separate it from surrounding areas. A flat-weave or jute rug in a slightly different color or texture from the rugs in other zones signals “this is a different space” to your eye every time you sit down to work. A monitor riser, a proper desk lamp with focused light, and a good office chair all contribute to making the zone feel purpose-built — not just a desk shoved in a corner.
Consider what happens to the desk at the end of the workday. A studio apartment home office zone only works as a zone if you can also close it off mentally when work is done. A small folding screen or a strategic placement of a tall plant can visually block the desk from view during non-work hours. The act of turning off the desk lamp and blocking sightlines to the monitor is the studio equivalent of closing the office door — a physical ritual that tells your brain: work is over.
For more ideas on setting up a workspace in a small apartment, see our guide to how to decorate a studio apartment on a budget, which covers the full range of small-space design challenges that work-from-home renters face.
Create a Dedicated Dining Zone in a Studio Apartment
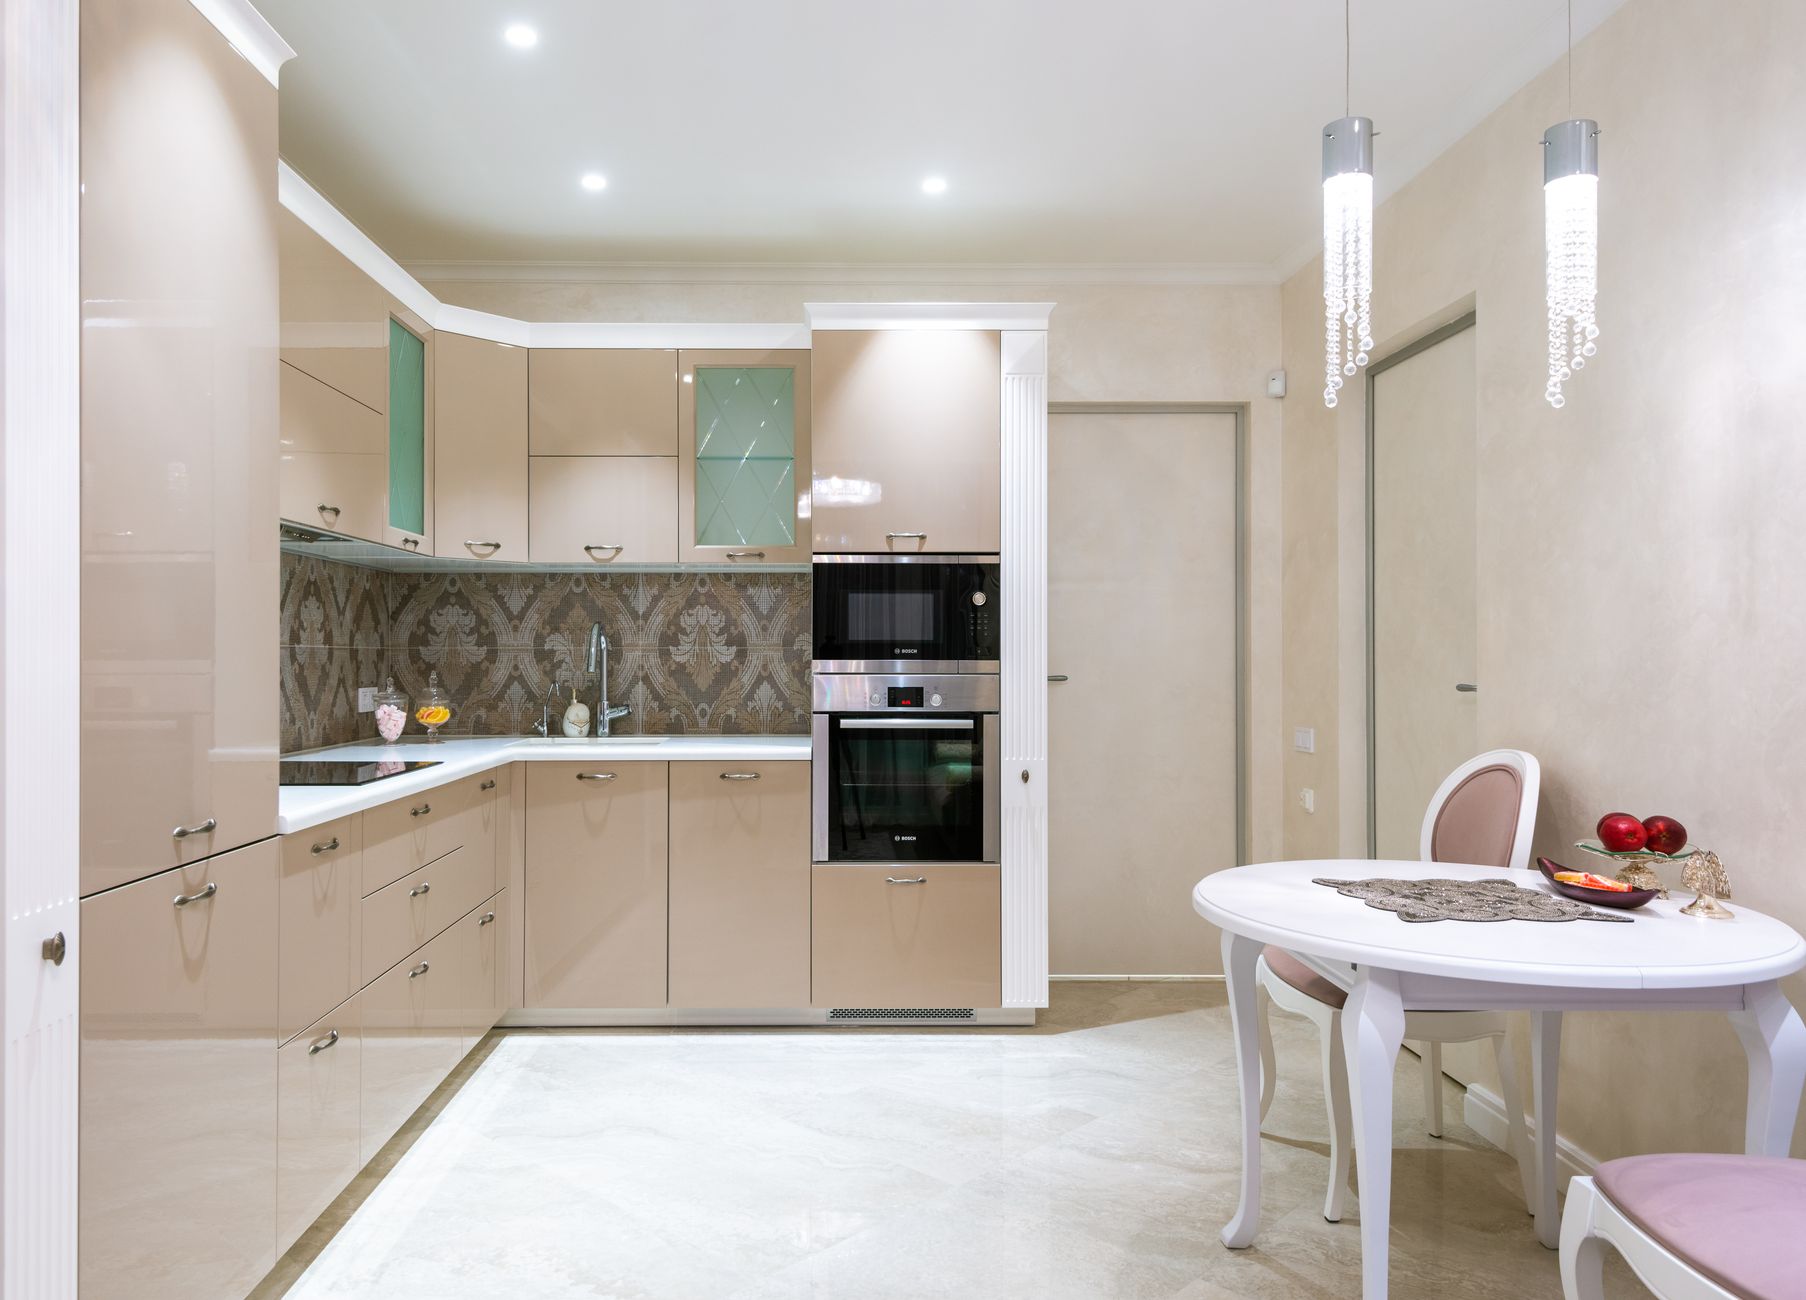
The dining zone is the most frequently overlooked of the five essential studio zones — and skipping it is a mistake. When you don’t have a defined place to eat, meals happen wherever: on the sofa, at the desk, standing at the kitchen counter. This erodes the boundary between work and relaxation (you’re eating where you work), between relaxation and sustenance (you’re eating mindlessly in front of the TV), and between cooking and dining. Creating even a small, defined dining zone restores a sense of ritual to mealtimes and improves the overall organization of the studio’s layout.
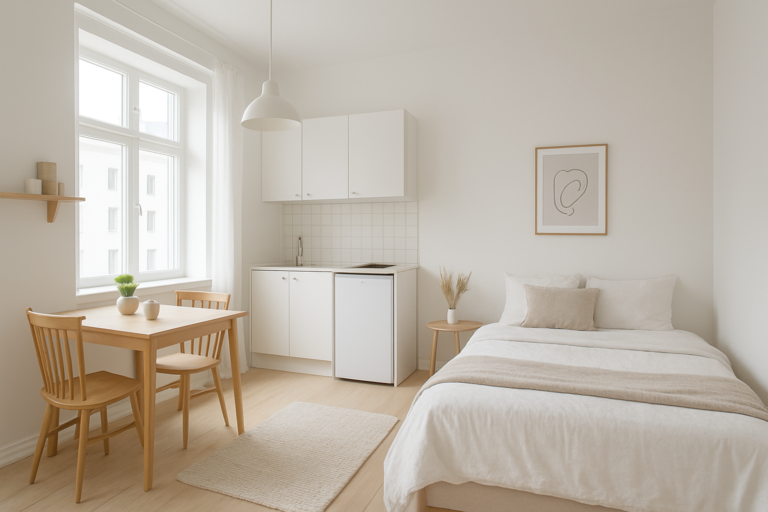
In a studio apartment, the dining zone doesn’t need to be large. A round table, 36 to 40 inches in diameter, seats two people comfortably and fits in a space about 6 by 6 feet when you include chair movement. A 24-inch bar table with two stools takes up even less floor space and creates a café-like aesthetic that works well in modern studio layouts. The key is having a distinct table that serves exclusively as a dining surface — not a table that doubles as a desk or storage surface, which defeats the zone-defining purpose.
Define the dining zone visually with a small rug under the table, a pendant light above it (even a plug-in pendant, which hangs from a hook and can be removed on move-out), and chairs that clearly belong to that table rather than doing double duty around the apartment. A pendant light directly above the table is one of the most effective zoning signals in a studio — it draws the eye down and in, making the table feel like the center of its own room. According to interior designers, ceiling-focused light is the single strongest visual anchor for a defined zone in an open-plan space.
If even a small dining table feels like too much space to sacrifice, a drop-leaf table — which folds down to under 12 inches of depth when not in use — is an excellent studio solution. Expand it for meals, fold it back for more floor space during the rest of the day. Mounted to the wall (with landlord permission) or freestanding, drop-leaf tables are the studio equivalent of one of the best murphy beds for small apartments: they let a zone exist when you need it and disappear when you don’t. For storage ideas adjacent to the dining zone, see our guide to small apartment dining area ideas for rooms with no dedicated space.
Use Lighting to Reinforce Zone Boundaries
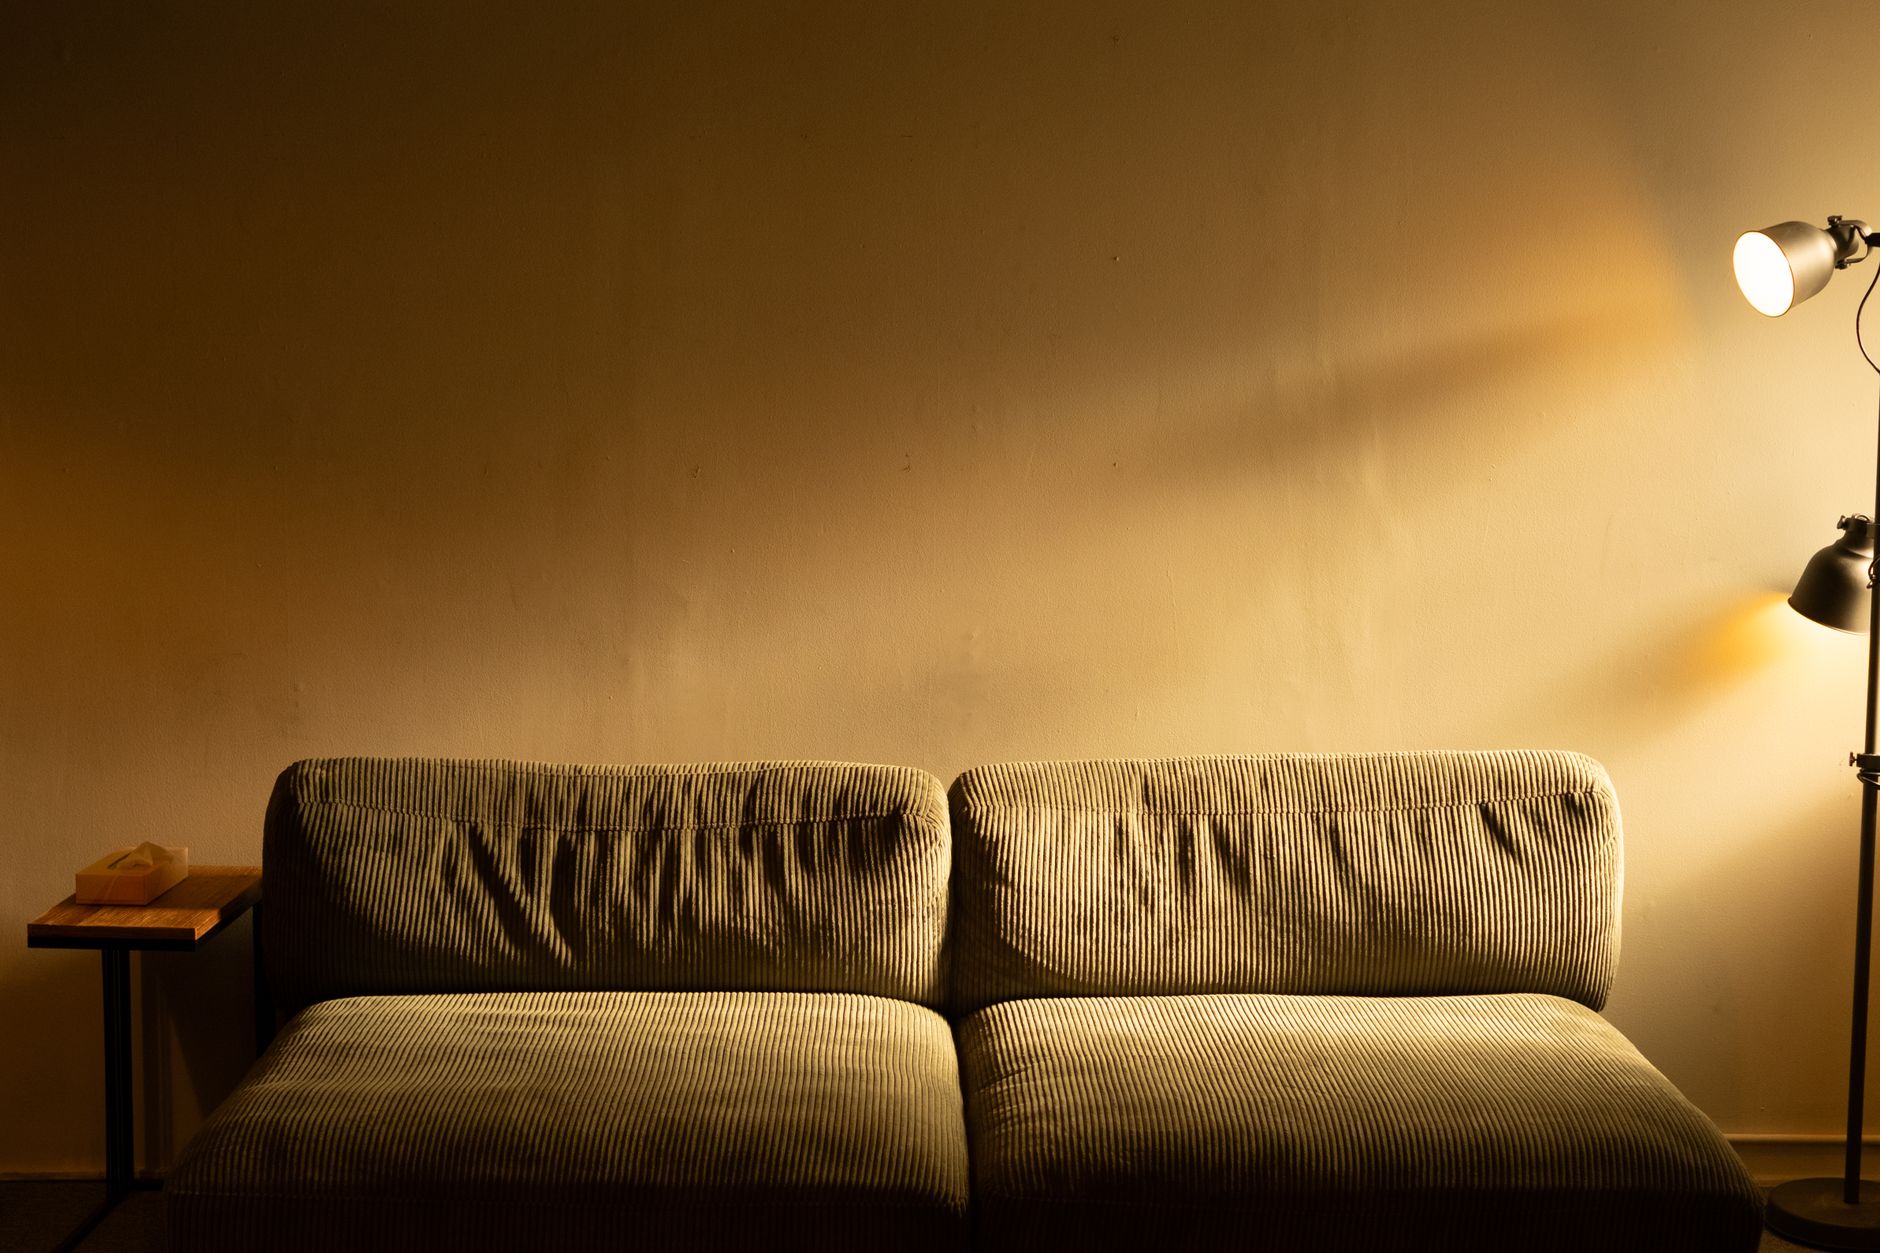
Lighting is the most underutilized zoning tool in studio apartments, and also one of the most powerful. The principle is simple: each zone should have its own dedicated light source, and that light source should be adjustable enough to match the activity of the zone. When the living zone lamp is on and the sleep zone light is off, the living zone feels active and the sleep zone recedes into shadow — creating a visual separation that requires no physical divider at all.
Smart lighting amplifies this effect dramatically. A set of smart bulbs in each zone allows you to set scenes: “Work mode” might mean bright, cool light at the desk and warm, dimmed light everywhere else. “Evening mode” might mean warm, low light in the living zone and blackout in the sleep zone. “Sleep mode” means everything off except a small, warm nightlight at the bed. These lighting transitions cue your brain to shift between contexts in the same way that moving between rooms in a traditional apartment does.
Even without smart bulbs, you can layer lighting effectively with three tools: a floor lamp in the living zone, a desk lamp in the work zone, and a table or clip-on lamp in the sleep zone. The overhead light becomes a secondary, general-purpose source rather than the primary light for any zone. Turning it off entirely and using only zone-specific lamps creates a warmth and intimacy that overhead-only lighting never achieves in a studio.
Pendant lights are particularly effective for anchoring zones in a studio. A plug-in pendant hung from a ceiling hook above the dining table or beside the sofa requires no installation (just a removable hook and cord management) and creates the kind of dedicated overhead light that defines a specific zone. The cord can be routed along the ceiling with removable adhesive clips, keeping it clean and organized without any permanent modification.
Add Paint or Wallpaper as a Visual Zone Anchor
Color is one of the most powerful zone-defining tools available to interior designers — and while most renters assume paint is off limits, peel-and-stick wallpaper brings the same effect within renter-friendly territory. A single accent wall in a different color or pattern behind the bed, behind the sofa, or behind a dining table creates a visual anchor for that zone that’s visible from across the room. Your eye reads the different wall treatment as a distinct area, even before processing any furniture placement information.
For the sleep zone, a peel-and-stick wallpaper accent wall directly behind the headboard is the most impactful application. It defines the bedroom zone from across the studio, creates a stylish backdrop for the bed, and adds design depth without any of the complexity or permanence of actual paint. A subtle linen texture, a soft botanical print, or a grasscloth-look paper all work beautifully in a sleep zone without creating visual noise that would make the space feel busier than it is.
For the living zone, an accent wall behind the sofa in a slightly different tone — or a large-format wall art installation that functions visually like an accent wall — achieves the same zone-anchoring effect. The key is scale: whatever you put on that wall needs to be large enough to read as a zone anchor from across the room. A single small print gets lost. A gallery wall that spans 4 to 6 feet wide, or a large 40-by-60-inch print, has the visual presence to define a zone.
If your lease allows painting — which is worth asking your landlord about, even if it seems unlikely — a single wall painted in a warm, saturated color can transform a studio’s zoning clarity in a weekend. Deep sage, dusty terracotta, warm charcoal, or muted navy all work as zone anchors while harmonizing with the warm neutral palette that photographs well for social media and feels comfortable to live with daily. When you move out, you simply repaint it white — a cost that’s almost always worth the year or more of improved livability.
Frequently Asked Questions About How to Divide a Studio Apartment Into Zones
What are the best methods to divide a studio apartment into zones without walls?
The most effective methods, ranked by impact, are: area rugs (define zones cheaply and immediately), sofa placement (creates a natural visual division between living and sleeping areas), a tall bookshelf divider (provides a physical barrier with storage), curtains (create genuine enclosure around a sleep zone), and lighting (zone-specific light sources that switch contexts as needed). Using two or three of these in combination produces a much stronger zoning effect than any single method alone. Rugs plus sofa positioning plus a bookshelf, for example, creates a studio that genuinely feels like a one-bedroom apartment.
How many zones should a studio apartment have?
Most studio apartments need five functional zones: sleep, living/relax, work, dining, and storage. If you don’t work from home, the work zone can be simplified or merged with the dining zone. If you rarely cook or eat at home, the dining zone can be minimized to a small corner table. The key is identifying the activities that happen in your studio daily and making sure each one has a dedicated, defined space rather than spreading across the entire apartment. Start with the five core zones and adjust based on how you actually live — not how you imagine you’ll live.
Can I divide a studio apartment into zones without spending a lot of money?
Yes — and in fact, the most effective first zoning step costs nothing. Simply repositioning your sofa to float away from the wall and face away from the bed immediately creates a living zone and a sleep zone with no money spent. After that, two area rugs (typically $40–$80 each) anchor the zones visually. After that, a tall bookshelf ($80–$150) provides a physical divider. The entire foundational zoning transformation — sofa repositioning, two rugs, one bookshelf — can happen for under $300, and that bookshelf does double duty as valuable storage. Lighting upgrades (smart bulbs, one or two floor lamps) add another $50–$100. There’s no point at which effective zoning requires a large investment.
How do I create a bedroom in a studio apartment that feels private?
Combine three elements: a physical divider (bookshelf or curtains on a tension rod), a dedicated area rug, and a different lighting source. The bookshelf or curtains give you control over visual access to the sleep zone — you can open them when alone and close them when guests visit. The rug defines the floor plan of the bedroom zone so it has clear boundaries. The separate light source — a bedside lamp that you control independently from the living zone lights — lets you create different ambient conditions in the sleep zone. Together, these three elements create a bedroom experience within a studio that most guests don’t initially realize is a single room.
What size rug do I need to define a living zone in a studio apartment?
For a typical studio living zone with a sofa and one or two accent chairs, a 5×8 rug is the minimum size that works for zone definition. A 6×9 or 8×10 works better if floor space allows — the larger the rug, the more definitively the zone is claimed. The key measurement is that all four legs of the sofa should be on the rug, or at minimum the two front legs. When the sofa floats partly or fully off the rug, the zone feels disconnected and smaller than it is. For the sleep zone, an 8×10 rug with 2 to 3 feet extending beyond each side of the bed creates a bedroom floor that feels complete.
Final Thoughts on How to Divide a Studio Apartment Into Zones
Learning how to divide a studio apartment into zones is ultimately about understanding a simple principle: the brain responds to space based on context cues, not square footage. You don’t need more rooms — you need better signals about what each part of your one room is for. Rugs, furniture placement, a well-positioned bookshelf, curtains around a bed, zone-specific lighting, and an accent wall are all context cues. Each one tells your brain: this part of the room is different from that part. And when your brain believes that, it behaves accordingly.
Start small. Reposition the sofa this weekend. Add two rugs in the next month. Pick up a bookshelf when the budget allows. Each step produces a noticeable improvement in how the studio feels — more organized, more livable, more like a home that was thought about rather than just moved into. The full transformation doesn’t need to happen all at once, and it doesn’t need to be expensive. It just needs to start.
If you’re working with a very small studio and feel limited by the square footage, remember: the most stunning small-space transformations you’ve seen on social media aren’t the result of bigger apartments. They’re the result of intentional zoning. The apartment looked designed because someone thought about what each part of it was for and made it look that way on purpose. You can do exactly the same thing.