21 Smart Studio Apartment Layout Ideas That Actually Work
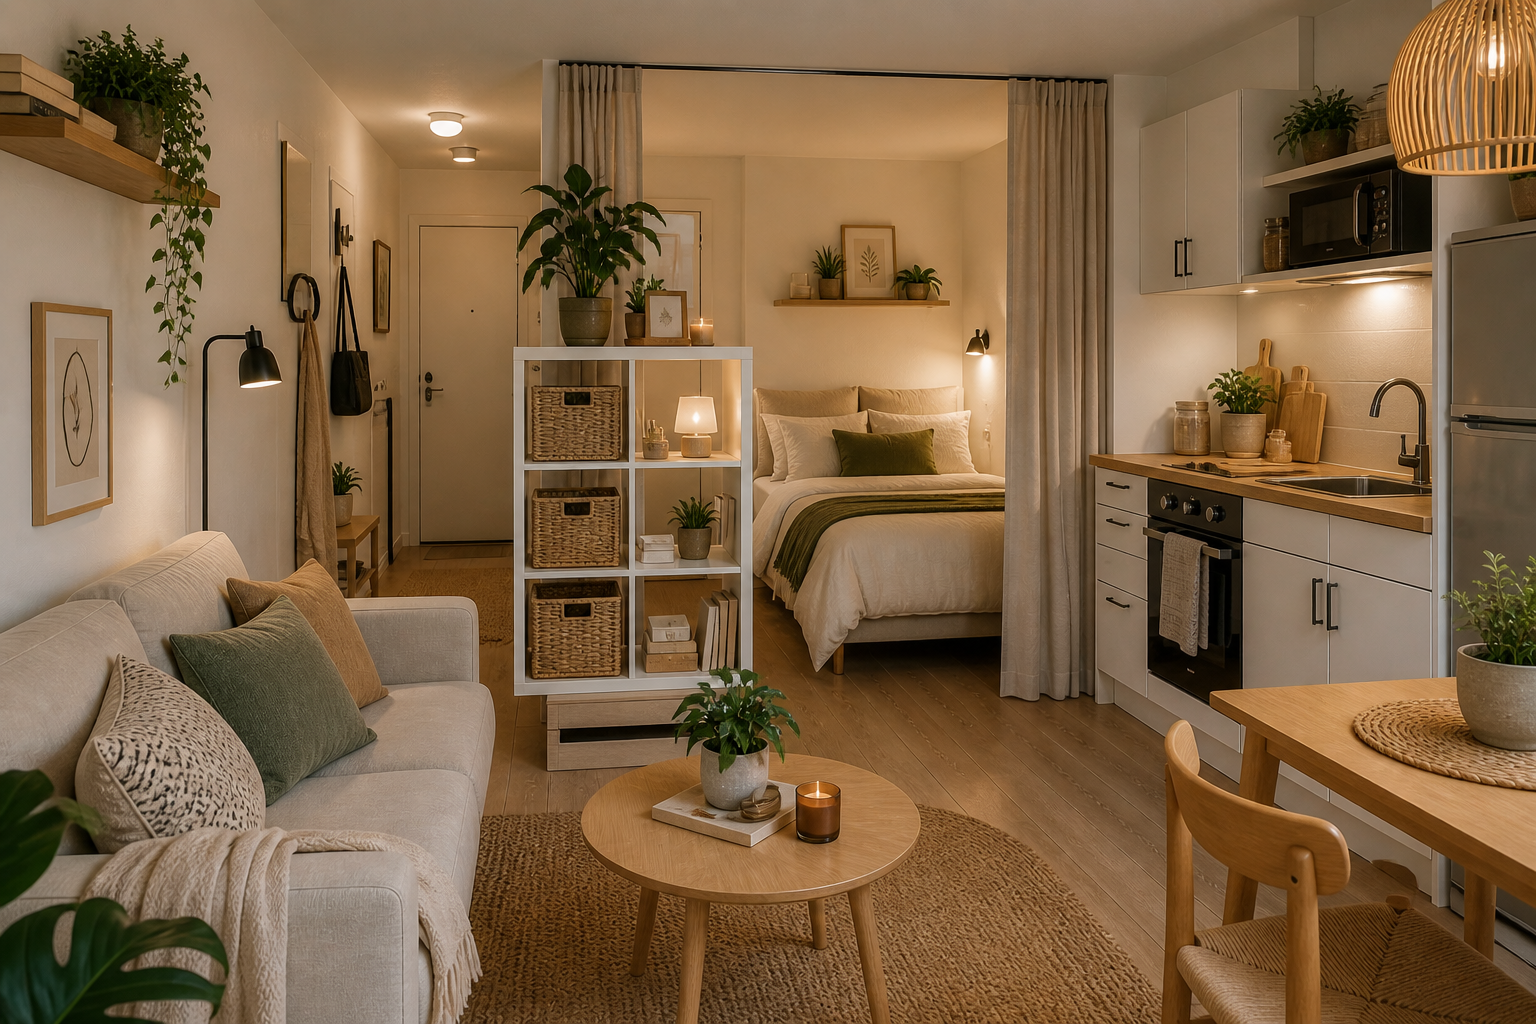
Struggling to make your studio apartment layout feel livable, stylish, and uncluttered? When your bed, sofa, “dining room,” and office all share one room, every square foot has to pull double duty. The good news: with a few smart layout tweaks, you can create flow, define zones, and make your small studio feel twice as functional—without a renovation budget.
In this guide, you’ll find 21 practical studio apartment layout ideas you can mix and match. Each one helps you separate spaces, add storage, and maximize natural light—so your studio looks curated, not chaotic. Let’s design a studio apartment layout that feels intentional and beautiful.
Start With Your Floor Plan
Before diving into specific zone ideas, take a moment to map the bones of your studio apartment layout. This will help you quickly see where each idea below fits best.
- Note windows, doors, heaters, and outlets.
- Identify the brightest wall (often best for living or desk).
- Sketch traffic paths from door to kitchen, bathroom, and bed.
Tip: Use painter’s tape on the floor to outline furniture footprints before you buy. It’s the cheapest way to “test” your layout.
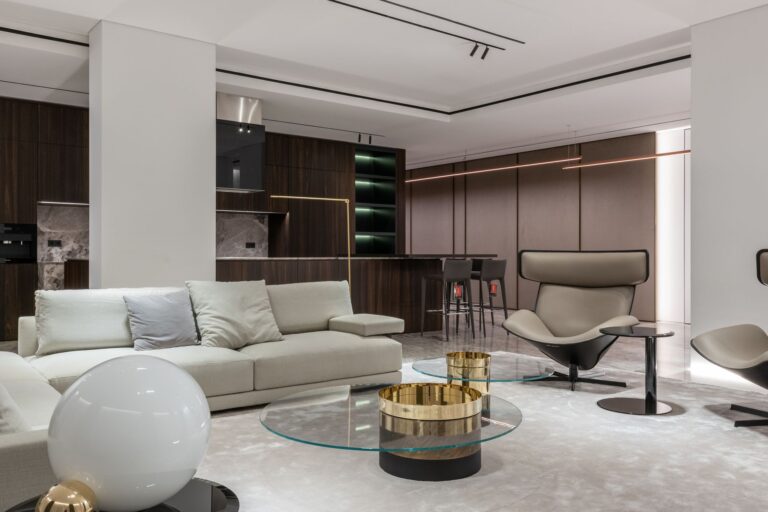
1) Float the Sofa to Create Instant Zones
Push sofas to walls and your studio can feel like a dorm. Instead, float a compact sofa in the middle to separate living from sleeping. Place the back of the sofa facing the bed to define two zones without adding walls.
Practical tip: Leave at least 30 inches of walkway behind or around the sofa to maintain good flow.
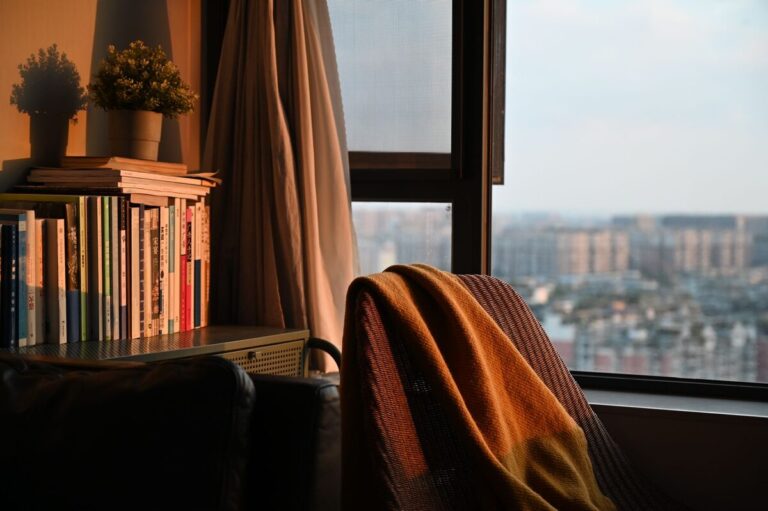
2) Use a Low Bookcase as a Room Divider
A waist-high bookcase creates visual separation without blocking light. Store baskets below and style the top with decor for a polished, built-in look.
Practical tip: Choose a unit with open cubbies; it keeps airiness while adding storage and a subtle barrier.
3) Try a Daybed for Dual-Purpose Seating
A daybed looks like a sofa by day and becomes a solid night’s sleep zone at night. It’s the ultimate two-in-one for a studio apartment layout where every piece needs a job.
Practical tip: Pick one with deep drawers underneath to stash bedding, off-season clothes, or guest blankets.
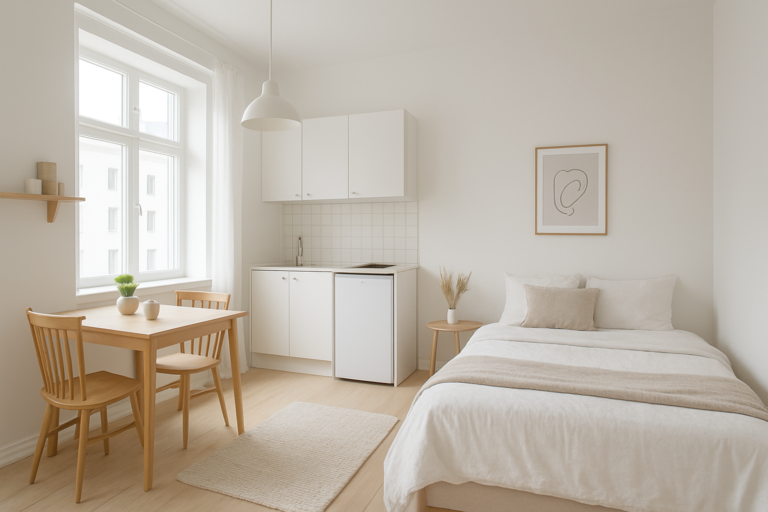
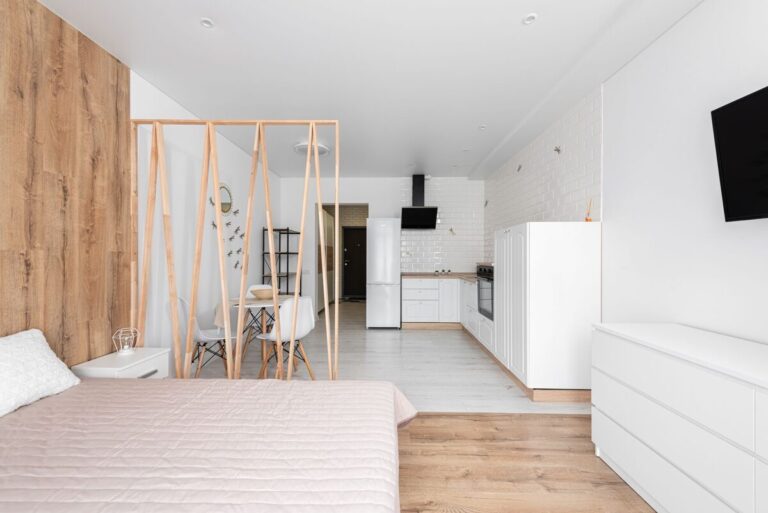
4) Place the Bed in a Corner for Calm
If your studio allows, tuck the bed into the farthest corner from the door. It creates a cozy “bedroom” nook and removes the bed from your immediate sightline.
Practical tip: Add a soft rug and a sconce to visually anchor the sleeping area and make it feel intentional.
5) Use a Curtain Wall for a Flexible Bedroom
Hang a ceiling-mounted curtain track and draw fabric around your bed at night. Open it by day to let light flood the room, close it for privacy or hosting.
Practical tip: Choose light-filtering linen or cotton for a breezy look; blackout curtains are great if you face streetlights.
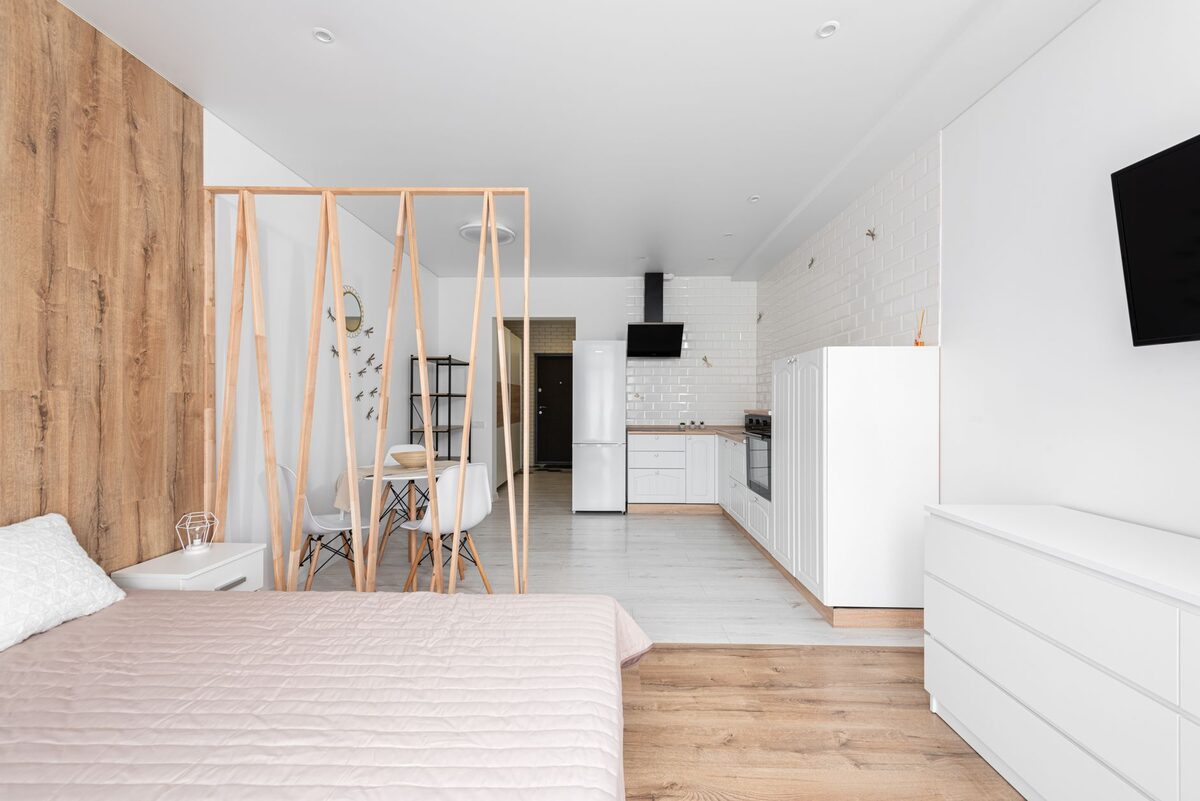
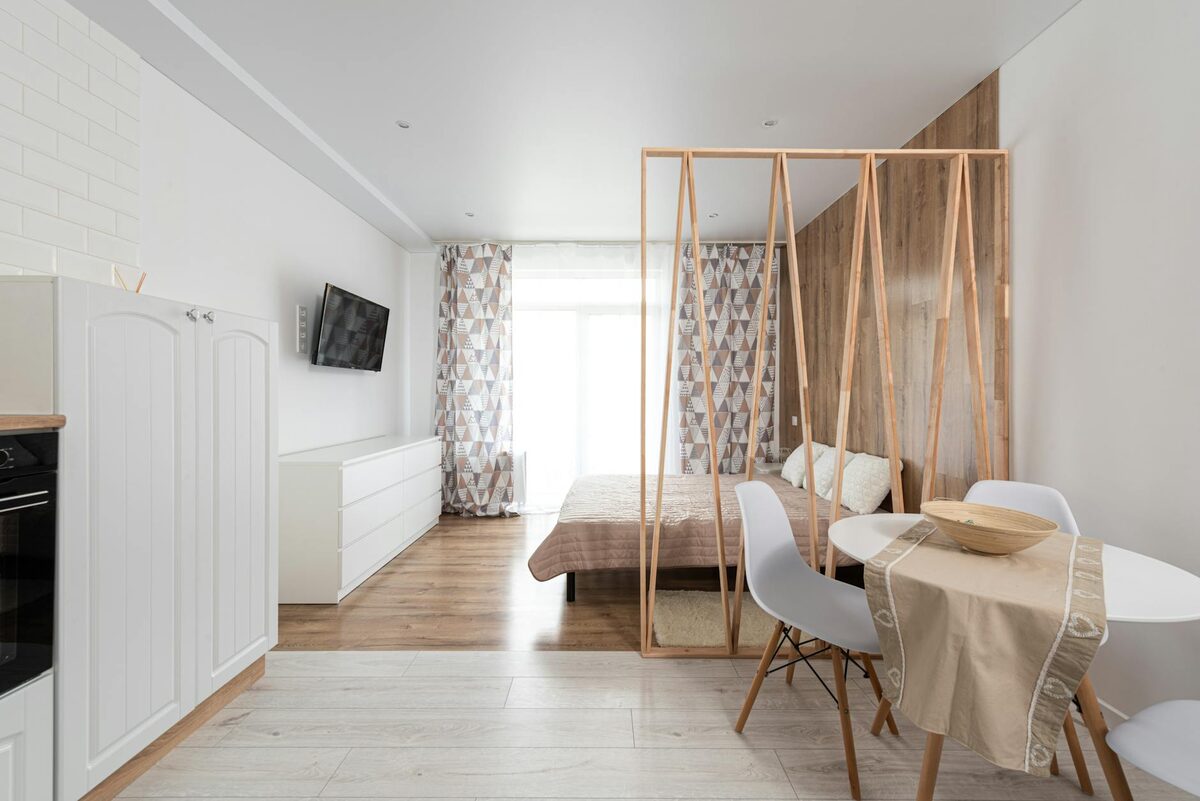
6) Add a Folding Screen You Can Move
A stylish folding screen gives you a movable wall you can stash behind a door when not needed. It’s ideal for renters and small budgets.
Practical tip: Go for a rattan or shoji-style screen to keep light bouncing around the room.
7) Create a “Headboard” Wall With Shelving
Use a narrow shelving unit or picture ledge above the bed to define the sleeping zone. This gives the illusion of a headboard wall and offers vertical storage.
Practical tip: Keep display items minimal—think books, one plant, a candle—to avoid clutter.
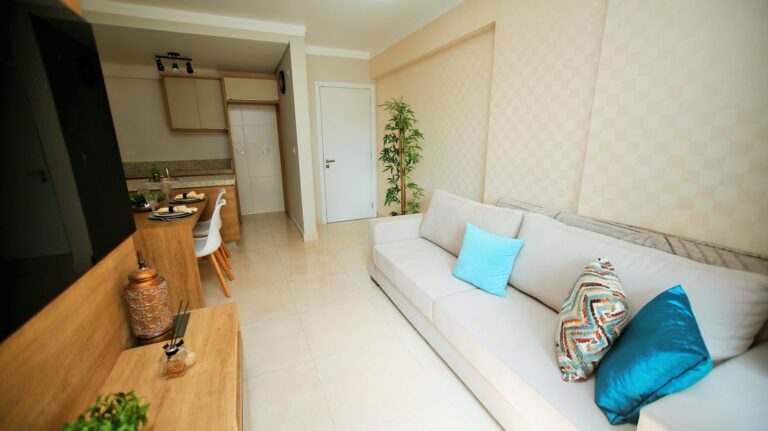
8) Define the Living Area With a Rug
A rug instantly anchors your living zone and stops furniture from “floating” randomly. Size up: a rug that fits under all front legs of the sofa and chairs makes the space feel larger.
Practical tip: Choose a low-pile rug that’s easy to vacuum and won’t trip you in tight walkways.
9) Choose Nesting or C-Shape Coffee Tables
Bulky coffee tables eat visual space. Try nesting tables or a C-shape table that tucks under the sofa arm. You’ll still have surface area when needed, minus the bulk.
Practical tip: Clear or glass tops keep sightlines open and make your layout feel lighter.
10) Build a Mini Entry With a Slim Console
Even in a studio, you can create a drop zone near the door. A slim console + mirror + hooks gives you function and frames the “entry” as its own zone.
Practical tip: Use a narrow shoe cabinet to double as a console; it adds closed storage without protruding too far.
11) Swap a Dining Table for an Extendable One
Instead of a permanent dining setup, choose an extendable table or wall-mounted drop-leaf. Keep it folded most days and open it for meals or guests.
Practical tip: Pair with stackable or folding chairs you can hang on hooks or slide behind a screen.
12) Create a Breakfast Bar With a Kitchen Cart
If your kitchen lacks counter space, roll in a slim kitchen cart as a micro island. It adds prep area, extra storage, and a spot to eat with stools.
Practical tip: Measure aisle clearances carefully; aim for 36 inches of walkway in high-traffic zones.
13) Use a Tall Wardrobe as a Closet Wall
No closet? A tall wardrobe or two can act like a built-in wall along one side of the bed. It provides closed storage and a visual barrier without construction.
Practical tip: Add adhesive mirror panels to doors to reflect light and visually expand the room.
14) Mount Lighting to Free Floor Space
Skip floor lamps and mount plug-in sconces by the sofa and bed. You’ll save floor area and create a calmer, hotel-like atmosphere.
Practical tip: Run the cords neatly along the wall with adhesive cord covers you can paint to match.
15) Zone With Paint or Peel-and-Stick Wallpaper
Use a soft accent paint or removable wallpaper to frame the bed or desk area. Visual zoning helps each space feel separate even when it shares the same footprint.
Practical tip: Paint just a color block behind the bed—no need for a full wall to get the effect.
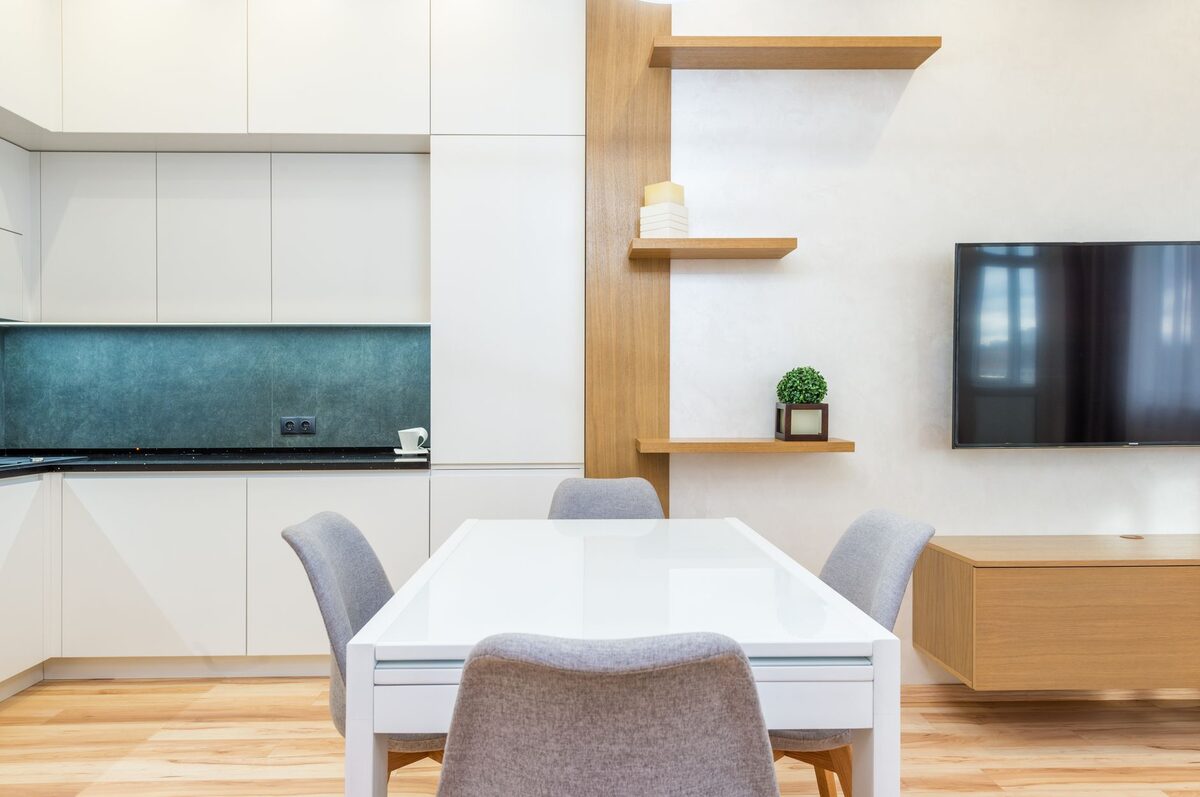
16) Go Vertical With Shelves Above Doorways
High storage keeps surfaces clear. Install shelves above doors or windows for books, baskets, and seasonal decor without eating floor space.
Practical tip: Use matching baskets to hide visual clutter and maintain a minimalist, tidy look.
17) Create a Compact Office Nook
Turn an awkward alcove or the back of a wardrobe into a desk nook. A wall-mounted desk or a narrow console works in surprisingly small spots.
Practical tip: Opt for a monitor riser with drawers to gain storage in inches, not feet.
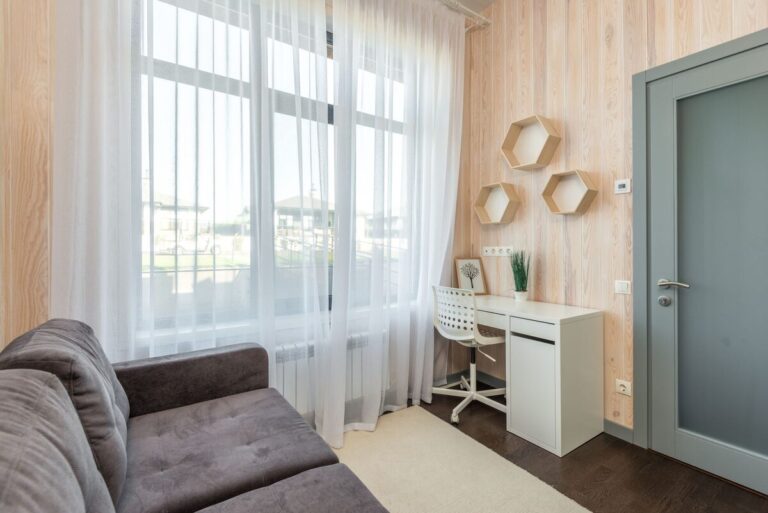
18) Put the Desk by the Window, Not the Bed
Natural light boosts focus. If you’re choosing between placing the sofa or the desk near the window, let the desk win. Your living zone will still feel bright with reflective decor.
Practical tip: Add sheer curtains to diffuse harsh sun and reduce screen glare.
19) Let Storage Double as a Nightstand
In tiny studios, a classic nightstand can be a waste. Try a small dresser, rolling cart, or closed cabinet that holds more than a single drawer.
Practical tip: Place a tray on top to corral nighttime essentials so it always looks tidy.
20) Choose Leggy, Lifted Furniture
Furniture with visible legs shows more floor, making your studio feel larger. Avoid boxy pieces that sit flat on the ground and block sightlines.
Practical tip: Keep a consistent leg style or color to create flow across zones.
21) Keep Walkways Clear With the “3-Path Rule”
Plan three simple paths: door to bed, door to kitchen, bed to bathroom. If any route requires weaving around furniture, it’s time to rearrange.
Practical tip: Maintain at least 24–30 inches in main walkways to prevent stubbed toes and visual clutter.
Sample Studio Apartment Layouts You Can Copy
Knowing what to place where can be the hardest part. Here are three starter layouts you can adapt to your square footage and window placement.
- The Social Sleeper
- Bed in the back corner with a curtain track
- Sofa floated in the middle, back to bed
- Rug under sofa area; nesting tables
- Foldable dining table near kitchen
- Slim console + mirror by the entry
- The Work-From-Home Pro
- Desk by the brightest window
- Daybed along the adjacent wall
- Low bookcase dividing desk and lounge zones
- Tall wardrobe behind daybed as a “closet wall”
- Wall sconces to free floor space
- The Chef’s Studio
- Rolling kitchen cart as a mini island with two stools
- Extendable table against wall for dinner parties
- Sofa opposite kitchen with rug
- Bed tucked behind a folding screen
- Over-door shelves for pantry overflow
Tip: Start with the biggest pieces (bed, sofa, wardrobe), then layer in flexible items (carts, side tables, screens).
Storage-First Strategies for Any Studio Layout
A smart studio apartment layout is 50% storage. If everything has a home, you’ll spend less time tidying and more time enjoying your space.
- Under-bed drawers or rolling bins: maximize the largest hidden space.
- Ottoman with storage: doubles as a coffee table and extra seating.
- Over-the-sofa shelf: a ledge for art and lamps in place of bulky side tables.
- Hooks everywhere: backs of doors, inside closets, kitchen ends.
- Baskets in open furniture: keep visuals calm while adding capacity.
Practical tip: Choose a unified color palette for bins and baskets so storage recedes and the room feels serene.
Light, Color, and Texture to Expand Your Space
Even the best studio apartment layout falls flat without the right finishes. Use light and texture to make the room feel open and cozy at once.
- Light walls with warm undertones keep it bright but not sterile.
- Add mirrors opposite windows to bounce light across zones.
- Layer textures—linen, rattan, boucle—to add depth without clutter.
- Keep patterns small-scale or tone-on-tone for a cohesive look.
Practical tip: Limit your palette to 3–4 main colors across the whole studio for instant harmony.
Budget-Friendly Furniture Picks and Hacks
You don’t need custom built-ins to get a high-end look. A few affordable, modular staples can transform your studio apartment layout.
- IKEA KALLAX as a divider with fabric bins
- BRIMNES or MALM beds with storage drawers
- NORBERG or BJURSTA wall-mounted drop-leaf tables
- BEKVÄM spice racks as mini bookshelves or entry catch-alls
- Plug-in sconces to avoid hardwiring and landlord issues
Practical tip: Add peel-and-stick wood grain or cane webbing to basic pieces for an elevated custom feel.
How to Test and Tweak Your Layout
Design is iterative—especially in a studio. Plan to test, live with it, then refine.
- Week 1: Focus on traffic flow. Do you bump into anything?
- Week 2: Evaluate light. Are you blocking daylight?
- Week 3: Edit surfaces. Is there a place for everything?
- Week 4: Finalize mood. Add art, plants, and cohesive textiles.
Practical tip: Snap “before” photos. They’ll help you see what’s working and give you a satisfying progress record.
Common Studio Layout Mistakes to Avoid
A few small missteps can make your space feel smaller than it is. Skip these and your layout will shine.
- Oversized furniture that overwhelms the room
- Pushing everything against the walls
- No visual zoning (rugs, shelves, or curtains)
- Too many tiny decor items creating clutter
- Blocking windows with tall furniture
Practical tip: If it doesn’t add function or joy, let it go. Negative space is your best small-space luxury.
Putting It All Together: Your Personalized Plan
Every studio has quirks, but your ideal studio apartment layout follows the same formula:
- Define zones with a floating sofa, rugs, or dividers.
- Prioritize storage that doubles as surfaces or walls.
- Place the desk by the window, the bed in a calm corner.
- Keep pathways clear and lighting layered.
- Edit ruthlessly—then add texture and warmth.
Practical tip: Start with two big moves (like floating the sofa and adding a curtain wall), then layer in small storage wins.
Final Thoughts: Your Studio, Styled Your Way
A clever studio apartment layout doesn’t need more square footage—it needs intention. Float your sofa, zone with rugs, add flexible dividers, and let storage do heavy lifting. With a few smart swaps, your studio can feel bright, calm, and perfectly you.
You’ve got this—start with one zone today and build from there. Save this to Pinterest!
Looking for more inspiration? Don’t miss our guides on decorate a studio apartment on a budget and studio apartment on a budget under $500 — both packed with practical ideas for small spaces.
You Might Also Like
- Studio Apartment on a Budget Under $500: Smart Decorating
- 17 Small Living Room Ideas That Make Your Space Feel Twice as Big
- 27 Genius IKEA Small Space Hacks You’ll Wish You Tried Sooner
4 Comments