12 Brilliant Small Bathroom Makeover Ideas for Renters
Small bathroom makeover ideas for renters don’t have to mean scrolling through inspiration photos and feeling stuck. Your landlord said no painting, no drilling, no permanent changes — and now you’re staring at beige tiles, a rusted shower rod, and a bare bulb above a mirror that makes everything look worse. The good news: you can completely transform that bathroom without touching a single thing you’re not allowed to change, and without risking a cent of your security deposit.
This guide covers 12 real, specific, reversible upgrades for your rental bathroom — from peel-and-stick backsplash tiles that look like actual tilework, to a shower curtain swap that changes the entire vibe in under five minutes. Every idea here is deposit-safe, most cost under $50, and all of them go back to normal before you hand in your keys.
In This Article
- Before You Shop, Do This One Thing
- Peel-and-Stick Backsplash Tiles That Look Like Real Tilework
- Temporary Wallpaper That Transforms Your Vanity Wall
- A New Shower Curtain Is the Fastest Room Reset You’ll Make
- Swap Your Shower Storage for a No-Drill Solution
- Over-Toilet Storage That Clears Your Counter for Good
- Lighting That Feels Less Like a Utility Room
- The Mirror Trick That Makes a Small Bathroom Feel Bigger
- Swap the Hardware — Then Swap It Back at Move-Out
- The Styling Details That Make Everything Look Intentional
- How to Move Out Without Losing a Penny of Your Deposit
- Frequently Asked Questions
Why Rental Bathrooms Feel So Depressing — And Why That’s Actually Fixable
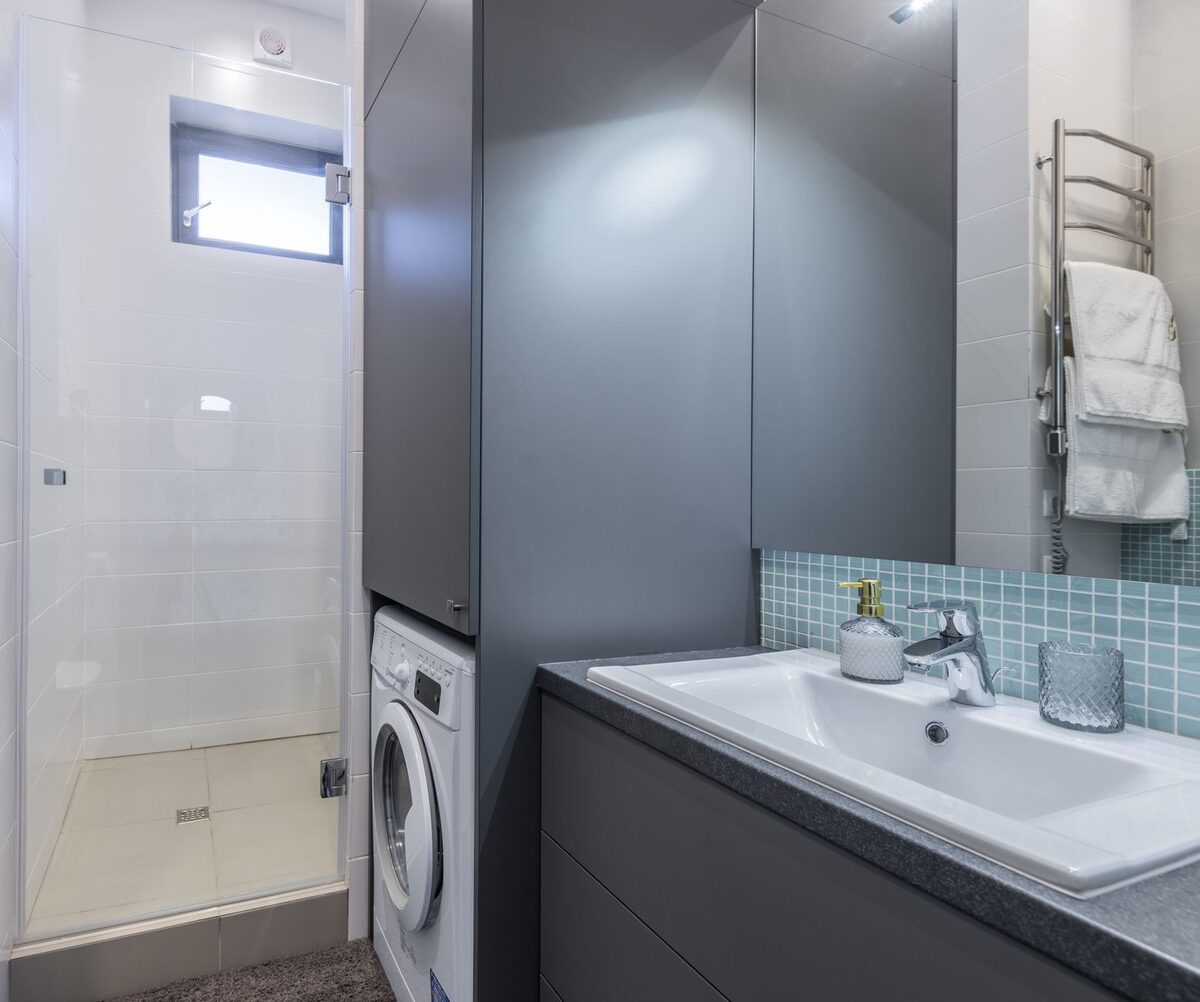
Most rental bathrooms share the same design philosophy: inoffensive, cheap, and easy for a landlord to replace. White or beige tile. A generic vanity mirror glued to the wall. A chrome towel bar that was installed circa 2003. Builder-grade light fixtures that make everyone look slightly ill. None of it is intentional — it’s just neutral in the blandest possible way.
The frustrating part is that most renters assume they’re stuck with it. You signed a lease that says no permanent alterations, so you put up a nice bath mat and call it done. But there’s a wide gap between “permanent alteration” and “leaving everything exactly as-is.” Peel-and-stick products, tension-mounted hardware, freestanding furniture, and smart styling can change how your bathroom looks, feels, and functions — all without touching anything permanently.
The key is knowing which changes are genuinely reversible, which products actually work in a damp bathroom environment, and in what order to tackle things for the most dramatic result. That’s exactly what this guide covers. Start at the top and work your way through — or skip to the section that solves your biggest frustration right now.
Before You Shop, Do This One Thing
Before you order a single thing, spend ten minutes in your bathroom with your phone’s camera. Take photos of every surface: the tile above the tub, the wall beside the vanity, the floor, the area above the toilet, the inside of the shower. Do this in the same lighting conditions you live in — not with your phone’s flash. What photographs poorly is usually what bothers you most.
Next, note the surface type for each area you want to change. Peel-and-stick products adhere differently depending on the surface. Smooth painted drywall and glazed ceramic tile are the best candidates. Textured walls, unsealed grout, and wallpaper are trickier and sometimes require extra prep. Knowing your surfaces before you shop saves you from buying products that won’t stick — or worse, products that’ll stick too well and take paint with them when you leave.
Finally, pull out your lease and read the “alterations” clause. Most leases prohibit permanent changes but say nothing about temporary removable ones. If yours is vague, a quick text to your landlord — “I’d like to add some peel-and-stick backsplash tiles above the sink, fully removable, would that be okay?” — takes sixty seconds and gives you written permission you can reference at move-out. Most landlords say yes without blinking.
With that done, you’re ready to shop strategically. Here’s where to put your money first.
1. Peel-and-Stick Backsplash Tiles That Look Like Real Tilework
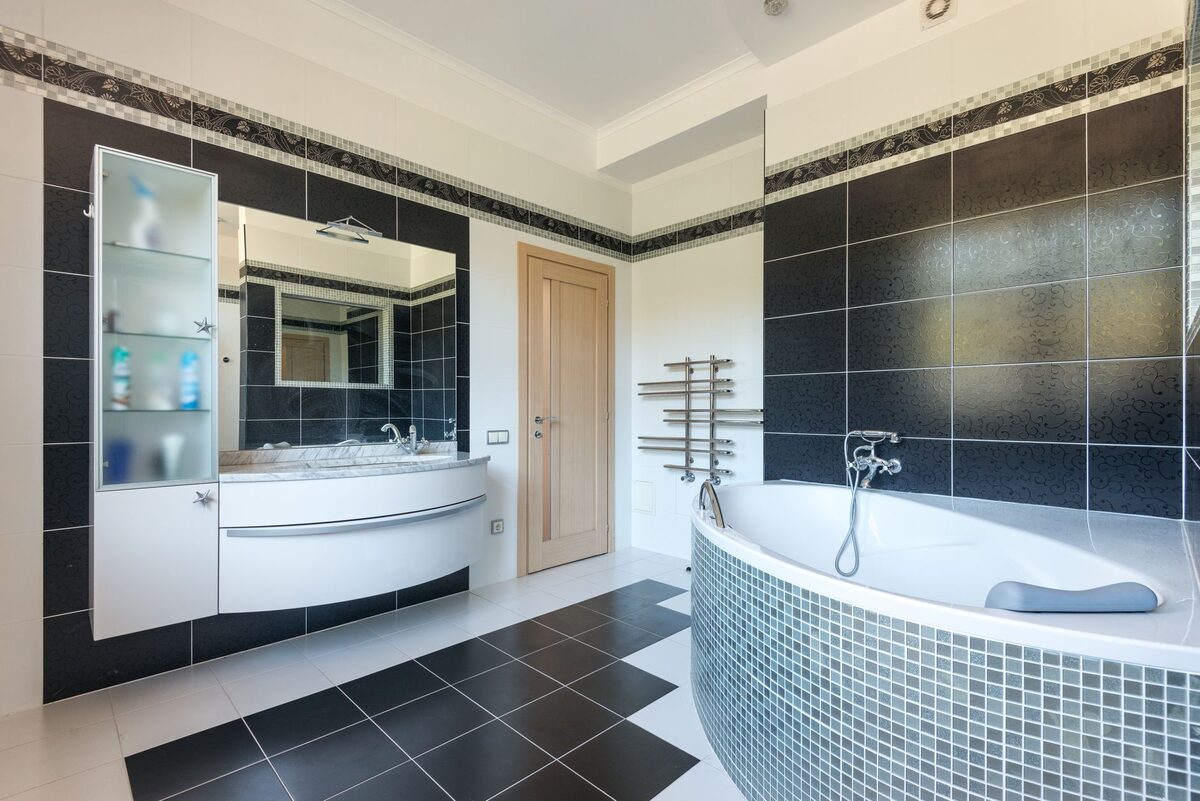
The wall space between your vanity and the mirror — or the area behind the sink — is one of the most visible surfaces in a bathroom. It’s also the most likely to look dated, stained, or just completely blank. Peel-and-stick backsplash tiles are the single highest-impact change you can make to a small rental bathroom, and they’re fully reversible with a hairdryer at move-out.
Modern peel-and-stick tiles have come a long way from the flimsy vinyl stickers of a decade ago. The best ones use a 3D layered construction that mimics the texture and depth of actual ceramic or stone tile. They’re water-resistant, heat-tolerant, and cut cleanly with scissors or a utility knife so you can work around outlets and edges without gaps.
Installation is genuinely simple. Clean the surface with rubbing alcohol, let it dry completely, and then peel and press each tile starting from the center of the wall and working outward. No grout. No drying time. The whole backsplash takes about thirty minutes and costs a fraction of professional tiling. When you move out, use a hairdryer on low heat to warm each tile for thirty seconds — the adhesive softens and the tile peels off cleanly, leaving zero residue on a properly prepared surface.
Go with subway tile patterns in white or cream if you want a clean, spa-like look. Hexagon patterns read as more modern and editorial. If you want something bold, a dark or green mosaic tile behind a white sink looks striking in photos and in person. Stick to one accent wall rather than tiling the entire bathroom — in a small space, a focused statement is more effective than covering every surface.
Tip: before committing to a full backsplash, order a single sheet and test it on an inconspicuous area of your wall. Leave it for a week. If it holds cleanly and peels off without damage, you know the product works on your specific wall surface.
SMART TILES Peel and Stick Backsplash — 5 Sheets, 11.43″ x 9″
- 3D adhesive tile with realistic depth and texture
- Heat & moisture resistant — safe for kitchen and bathroom
- Cuts cleanly with scissors to fit any wall shape
- Peels off cleanly — zero wall damage for renters
* As an Amazon Associate, ApartmentNook earns from qualifying purchases at no extra cost to you.
2. Temporary Wallpaper That Transforms the Wall Above Your Vanity
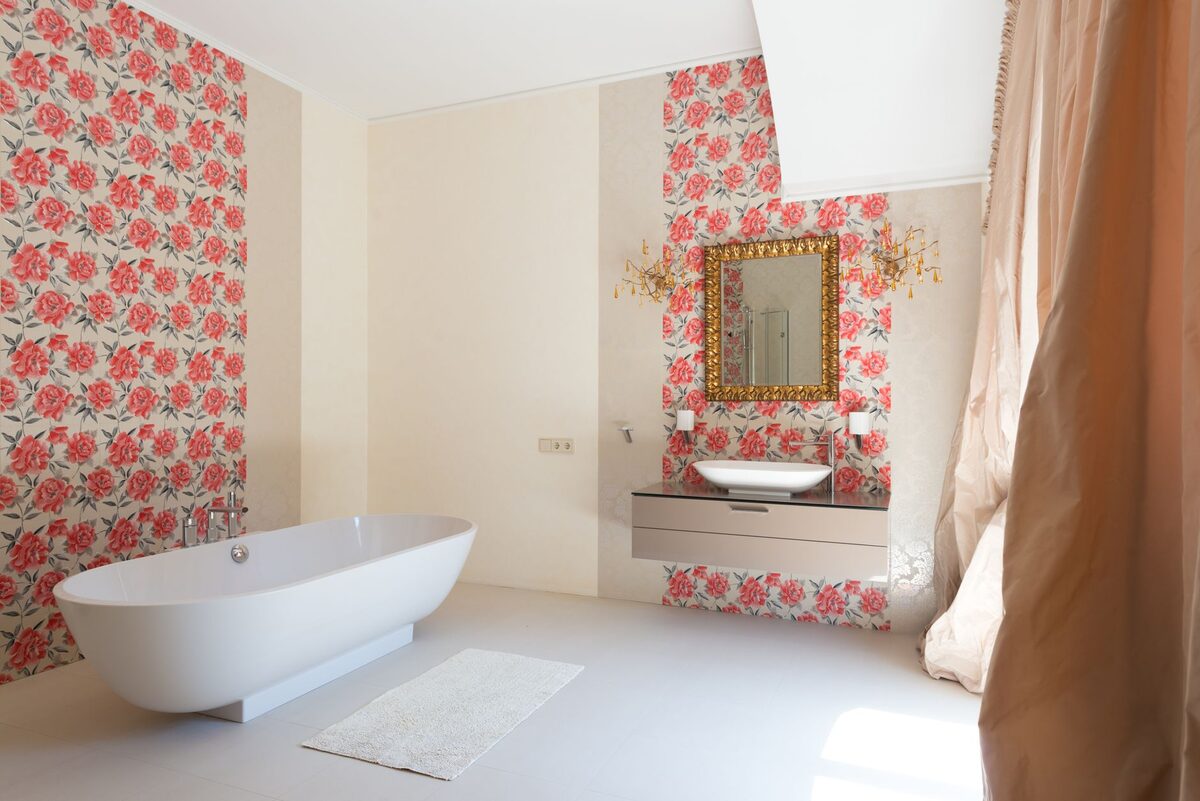
Peel-and-stick backsplash tiles work best on the sink wall. For the rest of your bathroom — the wall behind the toilet, the accent wall across from the door, or the space above the tub — temporary wallpaper is the move. A single accent wall in a small bathroom has outsized visual impact. It changes the whole mood of the room without touching the tile, the fixtures, or anything permanent.
The difference between regular peel-and-stick wallpaper and bathroom-safe temporary wallpaper matters here. You need a product that’s moisture-resistant, won’t bubble from steam, and uses a pressure-sensitive adhesive that bonds to painted drywall without lifting the paint on removal. High-quality removable wallpaper brands use fabric-based materials rather than thin vinyl — they lay flatter, look more like real wallpaper, and handle bathroom humidity much better.
For a small rental bathroom, one roll (typically 17–20 inches wide by 10–12 feet long) is usually enough to cover the accent wall above the toilet or the wall opposite the shower. Measure twice before ordering. Cut the strips to length, match the pattern at the seams by overlapping and trimming with a straight edge and utility knife, and smooth each strip with a squeegee or credit card to remove air bubbles as you go.
What pattern to choose depends on your goal. A soft botanical print in sage green or cream adds warmth and texture without making the room feel smaller. A dark moody pattern — think dark blue or forest green with a subtle repeat — can make a windowless bathroom feel intentionally dramatic rather than depressingly dim. Geometric patterns work well in modern apartments where the existing finishes are already fairly contemporary.
One practical note: avoid wallpapering directly inside the shower stall or directly beside a tub where the paper will get wet daily. Stick to the “dry” walls in your bathroom — the one behind the toilet, the accent wall across from the door, or the upper portion of a wall above the tile line. Those areas see almost no moisture and the paper will last for years.
Cismmy Removable Peel and Stick Wallpaper Boho Floral — 17.5″ x 118″
- Waterproof, scratch-resistant, oil-proof surface
- Renter-friendly: removes cleanly without residue or paint damage
- Self-adhesive — no paste or tools needed
- Beautiful boho floral print in soft neutrals
* As an Amazon Associate, ApartmentNook earns from qualifying purchases at no extra cost to you.
3. A New Shower Curtain Is the Fastest Room Reset You’ll Make
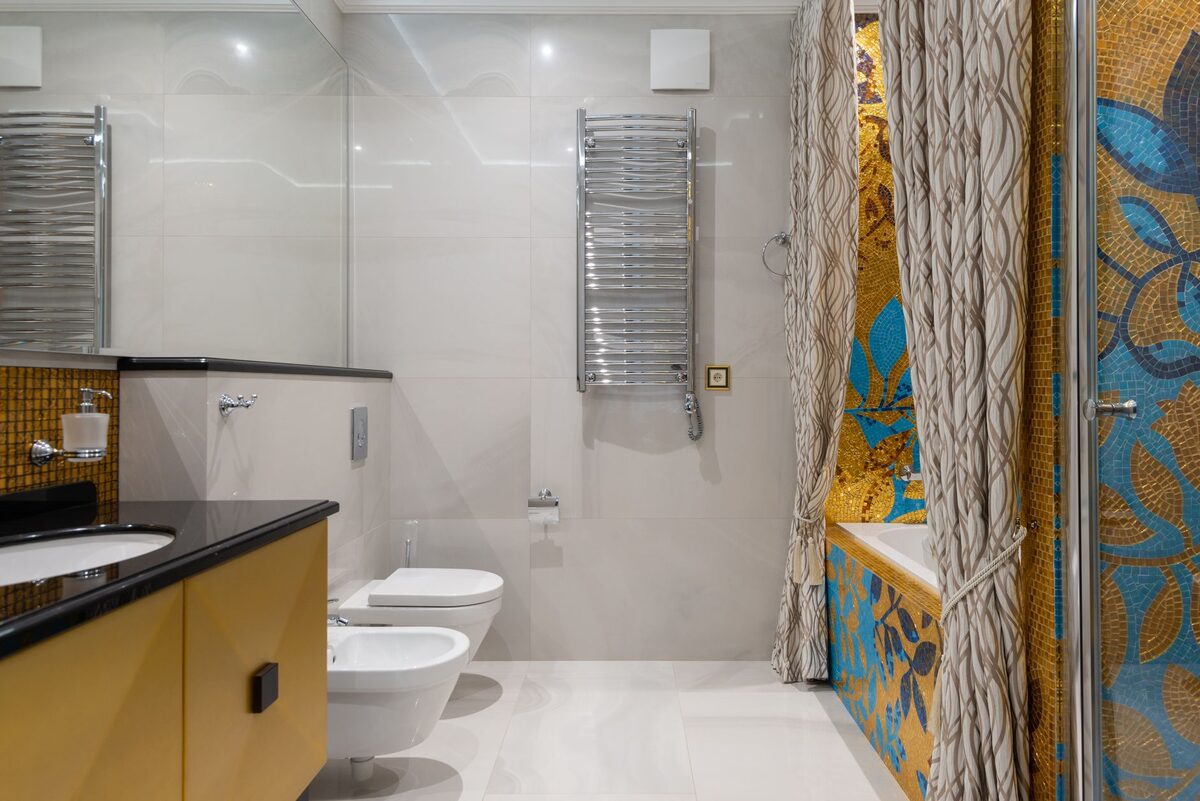
Your shower curtain covers roughly 20 to 30 square feet of visual space in a small bathroom. It’s the largest single piece of “decor” in the room, and most rental bathrooms come with either a clear plastic liner hanging alone or nothing at all. Replacing it — or adding a proper curtain in front of the liner — is the fastest, cheapest, most dramatic upgrade on this entire list.
In a small rental bathroom, the color and weight of your curtain changes everything. A heavy linen or cotton-blend curtain in cream or white makes the room feel spa-like and airy. A dark forest green or dusty sage curtain creates a moody, intentional look that photographs beautifully. Avoid thin polyester sheers in small spaces — they don’t provide visual weight and tend to look cheap rather than light and breezy.
Hang your curtain as high as your rod allows, and use curtain rings rather than the plastic hooks that came with the liner. Curtain rings add a small amount of height at the top and make the curtain hang more cleanly. If your tension rod is rusty or sagging, replace it — a new spring tension rod costs under $15 and takes two minutes to install without any hardware. While you’re at it, check if your rod is centered and level. A slightly crooked rod is one of those small things that makes an entire bathroom look less cared-for than it is.
Keep the liner in place behind your new curtain — it’s there to keep water in the tub, and you still need it. The decorative curtain hangs in front. This two-layer system is standard in styled bathrooms and creates more fullness and visual impact than a single panel. When you move out, the curtain comes with you and the liner goes back in place.
For internal styling: match your curtain to at least one other element in the bathroom — a towel, a bath mat, or the color of a plant pot. That single repeated color is the trick that makes small bathrooms look “designed” rather than just decorated.
4. Swap Your Shower Storage for a No-Drill Solution
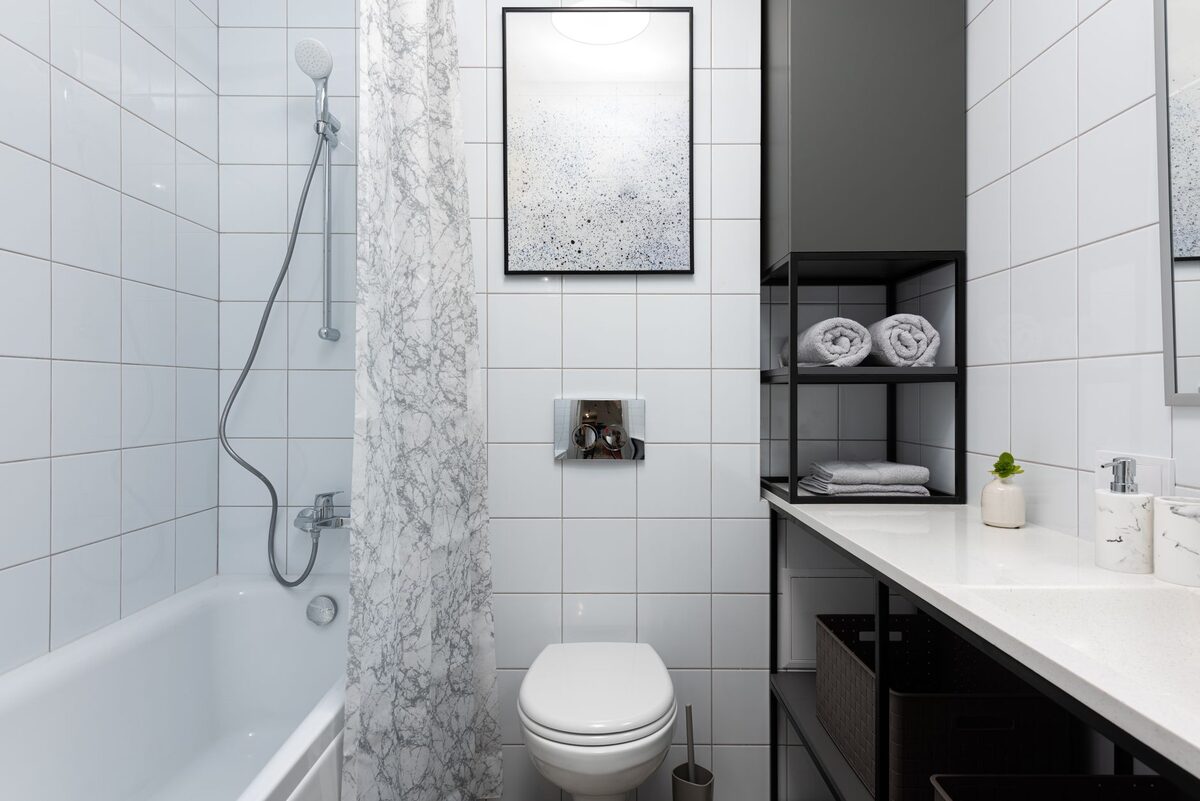
The wire caddy hanging from your showerhead — or the bottle collection balanced on the tub ledge — is one of the most common sources of bathroom frustration in rentals. Wire caddies rust. Showerhead-hanging caddies put stress on the fixture. And bottles clustered on the tub edge fall into the tub at 6 a.m. at a frequency that will surprise you.
The best no-drill shower storage for renters is a tension pole caddy. It wedges between the floor of the tub and the ceiling with a spring-loaded pole — zero drilling, zero adhesives, zero damage. The pole holds between 47 and 123 inches depending on the model, covering everything from standard 8-foot ceilings to low tub enclosures. A quality tension caddy has four tiers of shelving plus soap holders and hooks, holds 30 to 50 lbs across all tiers, and stays locked in place without wobbling once properly tensioned.
Look for a caddy with rust-proof coated steel or stainless construction. Cheaper models use bare steel that corrodes in shower humidity within six months. The rust then stains your tub — a security deposit problem you absolutely don’t need. Powder-coated black finishes tend to hold up best in humid shower environments and look sharp against white tile.
If your bathroom has a small shower stall rather than a tub surround, suction cup caddies are your other strong option. The best suction models use a lever-lock mechanism that creates a vacuum seal far stronger than standard suction — they hold up to 22 lbs per shelf and release cleanly with a pull tab when you want to move them. Mount them on the smooth tile wall inside the stall, away from grout lines for the best hold.
Either solution gives you organized, accessible shower storage that looks intentional — and both come with you when you move.
HAMITOR Shower Caddy Tension Pole — 4-Tier, 47–123 Inch Adjustable, Matte Black
- No drilling, no screws — tension-mounted floor to ceiling
- 4 shelves + soap holder + hooks for complete shower organization
- Rust-resistant powder-coated steel construction
- Adjusts to fit tubs and shower stalls up to 123 inches
* As an Amazon Associate, ApartmentNook earns from qualifying purchases at no extra cost to you.
5. Over-Toilet Storage That Clears Your Counter for Good
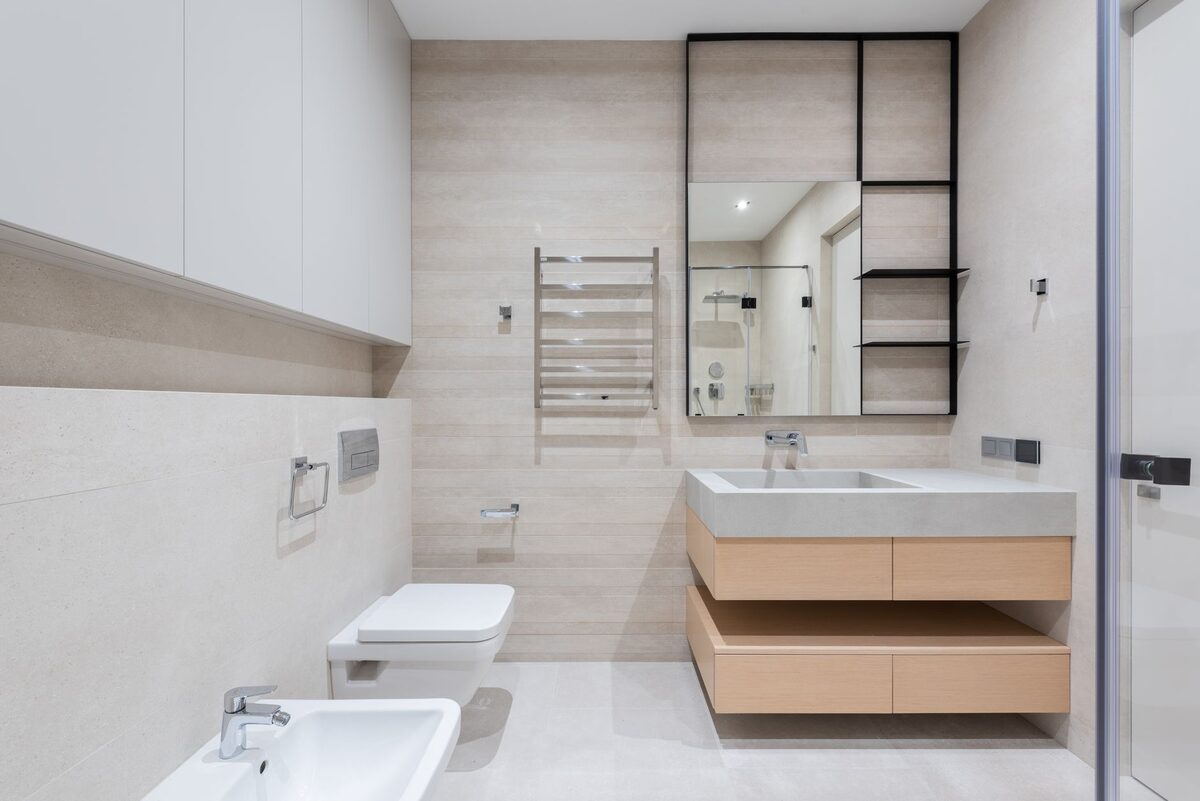
The vertical space above your toilet — roughly 12 inches wide and 3 feet tall — is prime real estate in a small rental bathroom that almost nobody uses. A freestanding over-toilet etagere slots into this space without touching a wall, without drilling a single hole, and adds three or four tiers of organized storage in an afternoon.
We’ve covered over-toilet storage in depth in our guide to over-the-toilet storage ideas for small bathrooms, but here’s the quick version for a makeover context: a 3- or 4-tier freestanding unit gives you enough space for extra toilet paper, a candle or plant on top, rolled towels in the middle, and cleaning supplies (hidden in a wicker basket) on the bottom. That’s your entire bathroom organized into one vertical footprint.
Choose a unit with adjustable shelves so you can customize the height between tiers based on what you’re storing. Anti-tip anchors built into the base are worth looking for — they clip to the toilet tank without drilling for stability, and remove cleanly when you leave. Black powder-coated metal reads as modern and sharp. A warm wood-finish unit suits a warmer, more organic bathroom aesthetic. Avoid pure white wire units — they look like utility shelving and will undermine everything else you do to style the room.
Once the etagere is in place, style the top shelf like a little vignette: a small trailing pothos or snake plant (both tolerate bathroom humidity), a reed diffuser, and one candle. The middle shelf gets rolled hand towels in a coordinating color. The bottom goes to bathroom essentials in a covered basket. That three-tier system — decorative, functional, hidden — is the standard approach in any styled bathroom, and it’s completely achievable with a $40 unit from Amazon.
For even more bathroom storage ideas that work without drilling, check out our full roundup of corner shelf ideas for small apartments — many of those techniques work beautifully in bathroom corners too.
GloTika 3-Tier Over Toilet Storage — Anti-Tilt, 150lb Capacity, 64″ Tall, Black
- Anti-tilt safety system clips to toilet tank — no wall drilling
- 150lb total capacity across all three shelves
- Built-in toilet paper holder and 4 bonus hooks
- Matte black metal — modern and rust-resistant
* As an Amazon Associate, ApartmentNook earns from qualifying purchases at no extra cost to you.
6. Lighting That Feels Less Like a Utility Room
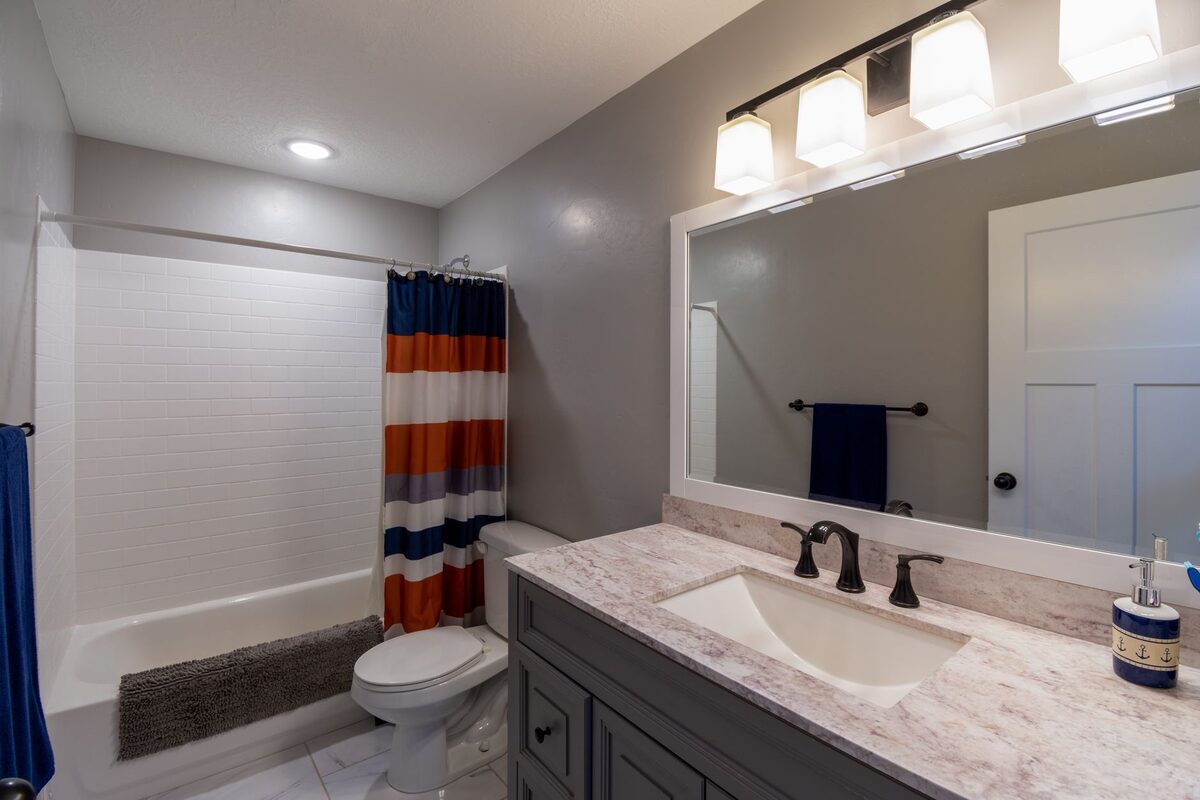
The single overhead vanity bulb in most rental bathrooms does one thing well: it makes you look exhausted. Overhead lighting alone casts downward shadows on the face — under-eye shadows, nasolabial shadows, the whole unflattering situation. Good bathroom lighting uses multiple light sources at different heights, specifically a light source at or near eye level beside or around the mirror.
The renter-friendly version of this doesn’t involve touching any wiring. What it does involve is layering plug-in sources. A plug-in vanity light bar screws into a standard outlet and positions bulbs beside or above your mirror — look for models with a long cord that can be tucked along the wall to the nearest outlet. Warm white bulbs (2700K–3000K) mimic natural morning light and immediately make the bathroom feel more inviting and your reflection more accurate.
LED strip lights under the vanity cabinet or behind a mirror are another high-impact, renter-safe option. These run on USB power, apply with adhesive backing, and cost under $20. A soft warm strip behind a frameless mirror creates a halo effect that photographs beautifully and makes the space feel much larger. Adhesive LED strips remove cleanly from smooth surfaces with no damage.
If you’re allowed to swap lightbulbs (most leases allow this as long as you replace them at move-out), changing your existing overhead fixture’s bulbs from cool white (4000K+) to soft warm white (2700K) is the cheapest lighting upgrade you can make. Keep the old bulbs in a labeled bag and swap them back in when you leave. As a bonus, LED bulbs use up to 90% less energy than incandescent bulbs according to the U.S. Department of Energy — so you’ll also see a small drop in your electric bill.
Candles count as lighting too — not for practical illumination, but for ambiance. A cluster of three pillar candles on a wooden tray on your toilet tank or vanity shelf adds the kind of warm, flickering light that makes any bathroom feel intentional. Battery-operated LED candles work just as well for the visual effect without any fire risk.
7. The Mirror Trick That Makes a Small Bathroom Feel Bigger
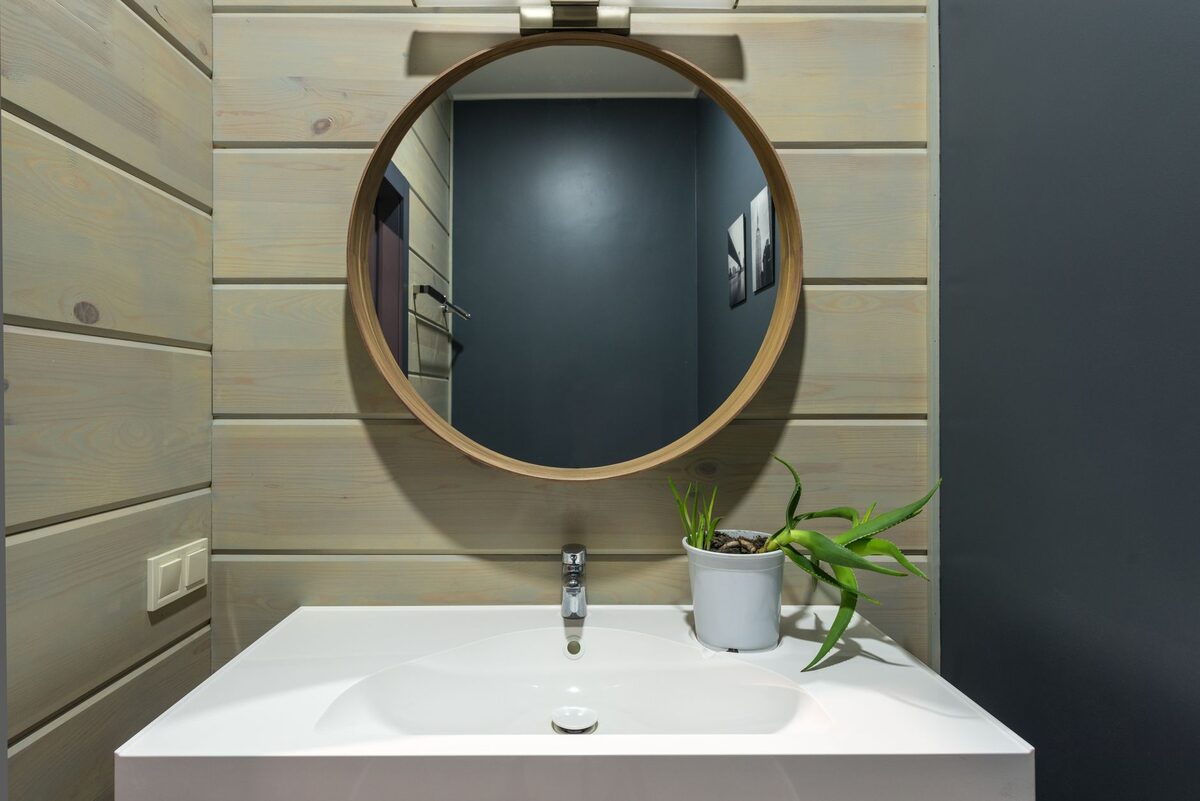
Most rental bathrooms have a single builder-grade mirror glued to the wall above the vanity. It’s usually frameless, slightly foggy at the corners, and sized just large enough to see your face — which in a small bathroom means it’s doing almost nothing to open up the space. Mirrors in small rooms work by reflecting light and creating the illusion of depth, but only if they’re large enough and positioned correctly.
Since you can’t remove the glued-on mirror (and shouldn’t try), your options are: add a second mirror elsewhere in the bathroom, or use an adhesive mirror frame kit to dress up the existing one. Mirror frame kits — strips of molding that press onto the mirror’s face and edges — transform a generic rectangle into something that looks intentional and custom. They install with adhesive and remove cleanly, and cost between $30 and $80 depending on size and style.
The second option — adding a mirror elsewhere — opens up the space more dramatically. A leaned full-length mirror on the floor opposite the vanity reflects the entire bathroom back at itself, effectively doubling the perceived square footage. Position it so it reflects the window or a light source for maximum brightness effect. A round mirror hung with Command strips on the wall beside the toilet adds visual interest and breaks up the blank wall without requiring a hole.
Command strips hold mirrors up to a certain weight limit — check the product rating against your mirror weight before hanging. For heavier mirrors (over 16 lbs), lean them against the wall rather than hanging. A leaned mirror doesn’t need any hardware and often looks more intentional than a hung one in a small bathroom anyway.
One more mirror trick worth knowing: position a small round mirror directly across from your window, even if it’s just a frosted bathroom window. Natural light bounces into the mirror and back into the room, brightening the space in a way that no artificial light can fully replicate.
8. Swap the Hardware — Then Swap It Back at Move-Out
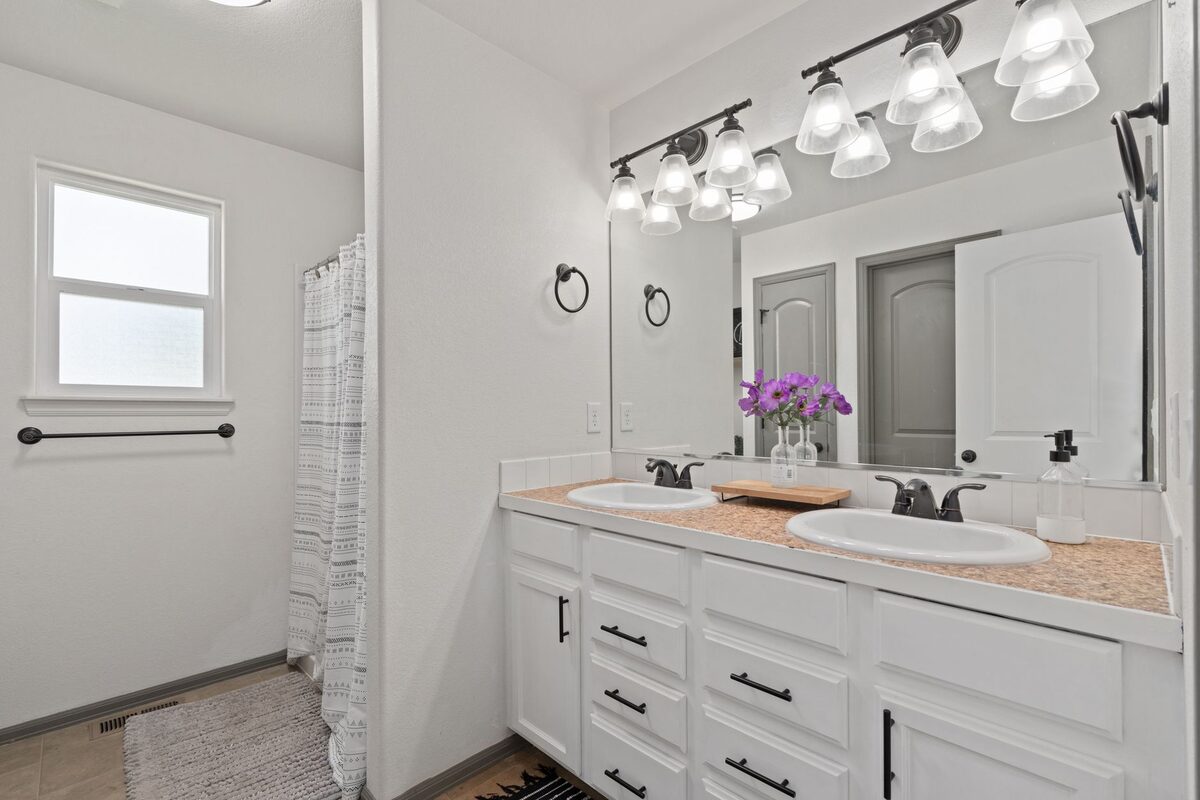
The towel bar, toilet paper holder, and robe hook in a rental bathroom are almost always chrome. Not warm brushed gold, not matte black, not brushed nickel — chrome. That specific cold, mirror-finish chrome finish dates a bathroom more than almost anything else and fights with every warmer, more current aesthetic you might be going for.
Swapping hardware is one of the most underrated small bathroom makeover ideas for renters because it’s technically a swap, not a permanent alteration — as long as you save every original piece, every screw, and reinstall exactly what was there when you move out. Put the original hardware in a labeled ziplock bag and store it in a cabinet or closet. As long as it goes back at the end of your tenancy, you’ve made no permanent change.
The swap itself is straightforward. Most towel bars and toilet paper holders are held by two or three screws going into wall anchors or studs. A screwdriver removes them. The new hardware usually mounts in the same locations using the existing holes. If your new hardware has a different mounting spread, you’ll need to fill the old holes with a small amount of removable spackling compound at move-out — this is standard practice and your landlord will expect it if you’ve made any hardware changes.
Matte black hardware is the most impactful upgrade in a bathroom with white tile — the contrast is sharp and modern. Brushed gold reads as warmer and softer, working better in cream or beige bathrooms. Brushed nickel is the most neutral alternative to chrome if you want an upgrade without a strong design statement. Budget around $15–$35 per piece — you only need a towel bar, a toilet paper holder, and one hook to change the feel of the entire room.
9. The Styling Details That Make Everything Look Intentional
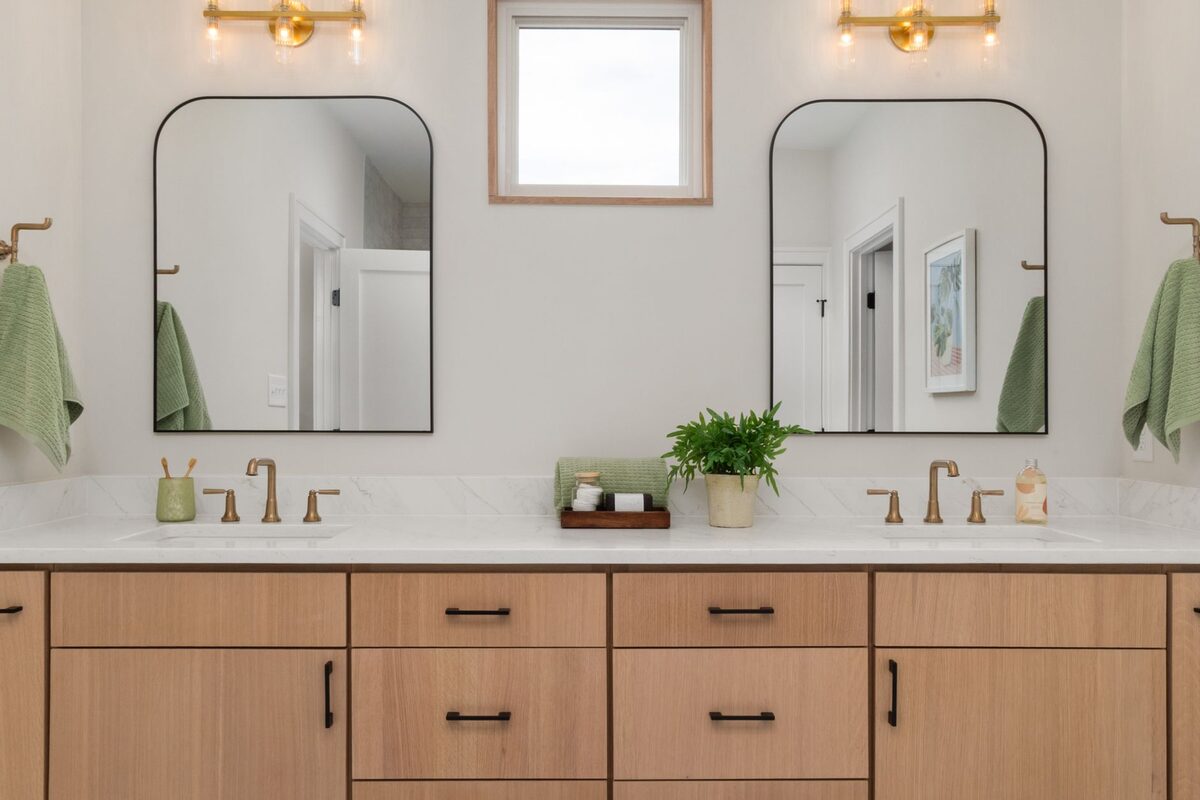
Everything we’ve covered so far makes structural or surface-level changes to your bathroom. This section is about the layer on top — the details that make a bathroom look like someone actually thought about it, rather than just filling it with things. These details cost almost nothing and take ten minutes to implement, but they’re what differentiates a styled rental bathroom from a barely-decorated one.
Start with your counter. Clear off everything that doesn’t belong there — backup supplies, random toiletries, the three different face washes you haven’t tried yet. What stays on the counter gets grouped: a ceramic or glass soap dispenser and soap dish as a set, a small wooden or marble tray to hold them, and one small plant or reed diffuser beside them. That’s it. Three items, intentionally grouped, replace the scattered twelve items that were there before. The counter immediately looks ten times more organized than it actually is.
Towels are bathroom decor. Most renters don’t think of them that way. Pick two or three towels in the same color family — not necessarily matching, but coordinated — and either fold them neatly on the towel bar or roll them and display them in a basket. Rolled towels stacked vertically in a small rattan basket on the counter or the bottom shelf of your etagere are one of the most commonly replicated bathroom styling moves for a reason: they look expensive and take thirty seconds.
Plants genuinely transform bathrooms. A trailing pothos on the top shelf of your over-toilet storage looks like something out of a hotel. A small snake plant on the vanity tolerates low light and bathroom humidity better than almost any other houseplant. Peace lilies and ferns also thrive in bathroom conditions. If you get zero natural light, a high-quality artificial plant in a ceramic pot reads as real in photos and doesn’t die — a practical and deposit-safe solution.
A bath mat is the bathroom equivalent of an area rug — it anchors the space, adds texture underfoot, and signals that the room was considered. Choose a mat in a material that actually looks good when dry: a woven cotton mat in cream or sand, a tufted chenille bath rug, or a wooden bath mat for a spa-style look. Avoid cheap microfiber in busy patterns. The simplest, most versatile choice is a cream or off-white woven cotton mat that you can wash regularly and replace inexpensively.
Finally: scent. A reed diffuser, a soy candle, or a small wax melt warmer makes your bathroom smell intentional. This is more psychological than decorative, but it matters — a bathroom that smells good feels better-maintained than one that doesn’t, and it makes the space feel more like a personal retreat than a shared utility. Keep it light: lavender, eucalyptus, and clean linen scents work well in small enclosed spaces without becoming overwhelming.
LEVERLOC Shower Caddy Suction Cup 2-Pack — No-Drill, Rustproof, with Soap Holder & Hooks
- Lever-lock suction creates powerful vacuum hold — no drilling
- Rustproof construction safe for daily shower humidity
- Holds shampoo, soap, razors, and loofahs per shelf
- Releases cleanly with pull tab — zero tile damage
* As an Amazon Associate, ApartmentNook earns from qualifying purchases at no extra cost to you.
10. How to Move Out Without Losing a Penny of Your Deposit
All of the changes in this guide are reversible — but only if you reverse them correctly. The most common security deposit deductions for bathroom makeover-related issues come from three things: adhesive residue left on walls, original hardware that can’t be found, and products that were marketed as “removable” but weren’t removed correctly. Here’s how to avoid all three.
Adhesive residue: peel-and-stick tiles and wallpaper remove most cleanly when the wall is warm. Use a hairdryer on medium heat, working in small sections and peeling slowly at a shallow angle (not straight out from the wall). After peeling, any remaining adhesive residue responds to rubbing alcohol on a soft cloth. Work in small circles and the residue comes off in under a minute. Test in an inconspicuous spot first to confirm the alcohol doesn’t affect your specific wall paint.
Command strips and adhesive hooks remove cleanly with the pull-tab method specified in the instructions — pull the tab straight down parallel to the wall, not out. Never yank a Command strip straight off the wall. The pull-down technique stretches the adhesive and releases it without taking any paint. If a strip pulls paint anyway, that’s usually a sign the paint on the wall wasn’t properly bonded to begin with — document that in photos from your move-in inspection.
Original hardware: keep every piece in the labeled bag we mentioned earlier. When reinstalling, use the original screws and anchors — they go back into the same holes, no patching required. If you lose a screw, match the size at any hardware store; don’t use a different size that leaves the holes looking altered.
Document everything with photos. Before you make any change, photograph the original state of that surface. When you move out, photograph the restored state beside the move-in photo for comparison. This gives you a clear record if there’s any dispute about condition, and it shows you’ve been a conscientious tenant throughout your tenancy.
The goal isn’t just to get your deposit back — it’s to leave the apartment in better condition than you found it, which is entirely possible when every change you make is intentional and reversible. Landlords notice tenants who care, and that reputation is worth more than any single deposit.
Frequently Asked Questions About Small Bathroom Makeover Ideas for Renters
Can I use peel-and-stick tile in a rental bathroom?
Yes — with the right product and proper prep. The key is choosing a tile designed for bathroom use (water-resistant or waterproof) and applying it to a clean, smooth, non-porous surface. Glazed ceramic tile and smooth painted drywall are both ideal. Avoid textured walls or surfaces with existing texture, as the adhesive won’t bond evenly and edges may lift. Before committing to a full installation, test a single tile in an inconspicuous area and leave it for a week to confirm it bonds and peels cleanly on your specific wall. Always use a hairdryer to warm tiles before peeling at move-out — this softens the adhesive and ensures clean removal without residue.
What can I change in a rental bathroom without losing my deposit?
More than most renters realize. You can swap lightbulbs (as long as you put originals back), replace the shower curtain and rod with a tension version, add freestanding storage that doesn’t touch the walls, use peel-and-stick tiles and removable wallpaper on suitable surfaces, swap hardware (saving originals in a labeled bag to reinstall at move-out), hang lightweight decor with Command strips, add plants, change out bath mats and towels, and add a mirror frame kit to your existing mirror. The general rule: if you can put it back exactly as you found it without any trace that it was changed, you’re within safe territory. When in doubt, text your landlord for written permission — most say yes without hesitation.
How do you make a rental bathroom look nice on a budget?
Start with the highest-impact, lowest-cost changes first. A new shower curtain ($20–$40) changes the largest single surface in the room. A set of matching towels in a coordinating color ($15–$30) makes the space look curated. A peel-and-stick backsplash tile set above the sink ($25–$50) mimics a real tilework upgrade. A small plant on the vanity ($8–$15) adds life and warmth. These four things — shower curtain, towels, backsplash tiles, plant — can completely transform a rental bathroom for under $100 total. Add the over-toilet etagere ($40–$60) when you’re ready to tackle organization, and a reed diffuser ($12–$20) for scent, and you’ve covered every dimension of a bathroom makeover without spending more than $180.
Is temporary wallpaper safe for bathroom walls?
Yes, on the right walls and with the right product. Look for wallpaper specifically rated as moisture-resistant or waterproof — these are made from thicker vinyl or fabric-backed vinyl that handles bathroom steam without bubbling or peeling. Apply only to “dry” bathroom walls — the wall behind the toilet, the accent wall across from the shower, or the area above the tile line. Avoid wallpapering inside the shower enclosure or directly behind the sink where paper will contact water daily. On properly prepared smooth painted drywall, quality removable wallpaper can last 2–5 years and removes cleanly with gradual peeling. Always start with the pull tab and peel slowly at a shallow angle — don’t rush the removal.
How do you add storage to a small rental bathroom without drilling?
Three systems cover most rental bathroom storage needs without a single drill hole. A freestanding over-toilet etagere uses the vertical space above the toilet — the most underused square footage in any bathroom — and holds towels, toiletries, and decorative items across three or four shelves. A tension pole shower caddy wedges floor-to-ceiling in your shower or tub surround, replacing a rusty showerhead caddy with four organized tiers. Adhesive or suction cup shelves mount to smooth tile inside the shower for additional soap and shampoo storage. Beyond the shower, floating shelves with adhesive backing (rated for the weight you’ll store) can go on any smooth painted wall, and tall freestanding shelving units occupy bathroom corners without touching the walls. See our full guide to floating shelves ideas for small apartments for more no-drill shelf options.
Final Thoughts on Small Bathroom Makeover Ideas for Renters
Small bathroom makeover ideas for renters work best when you approach them in order: surface changes (tiles, wallpaper) first, then storage, then hardware, then styling. Tackle one section per weekend and the transformation compounds quickly. Within a month of starting, you’ll have a bathroom that feels genuinely considered — not a rental bathroom you’re tolerating until your lease ends.
Every upgrade on this list is deposit-safe when done correctly, but the real value is the day-to-day improvement in how you experience your home. You spend time in your bathroom every single morning. Making it somewhere you actually want to be — with good light, clean storage, and a few styling details — is one of the most practical quality-of-life upgrades you can make as a renter.
For more renter-friendly decorating ideas across your whole apartment, start with our guide to how to decorate a studio apartment on a budget — many of the same principles scale beautifully from bathroom to living room.